Configuring Your Digital Loan Application: Setting up a DocuSign Integration
Last updated: July 15, 2026
Currently DocuSign integrations are only supported by Meridian Link and Sync1 LOS'
Sync1
Set-up Steps
Ensure your Sync1 is integrated with DocuSign. This will require setting up a DocuSign account for your institution.
Configure Glide webhooks in Sync1. This step will be part of your implementation process with Glide.
Provide Glide with the following keys. These can be obtained from your DocuSign account dashboard. (See Retrieving your keys from DocuSign section below)
Integration Key
User ID
RSA Private Key
OAuth Base URL (usually account-d.docusign.com or account.docusign.com)
Account ID
API Base URL
Retrieving your keys from DocuSign
Log in at https://apps-d.docusign.com.
Click on the "Admin" tab at the top.
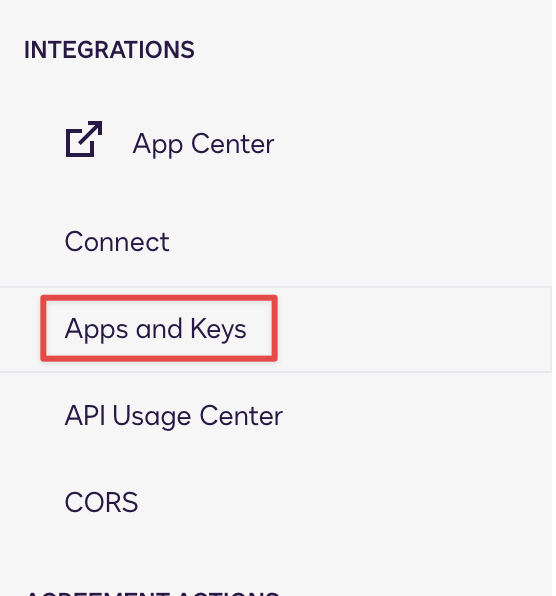
Select "Apps and Keys" in the sidebar.
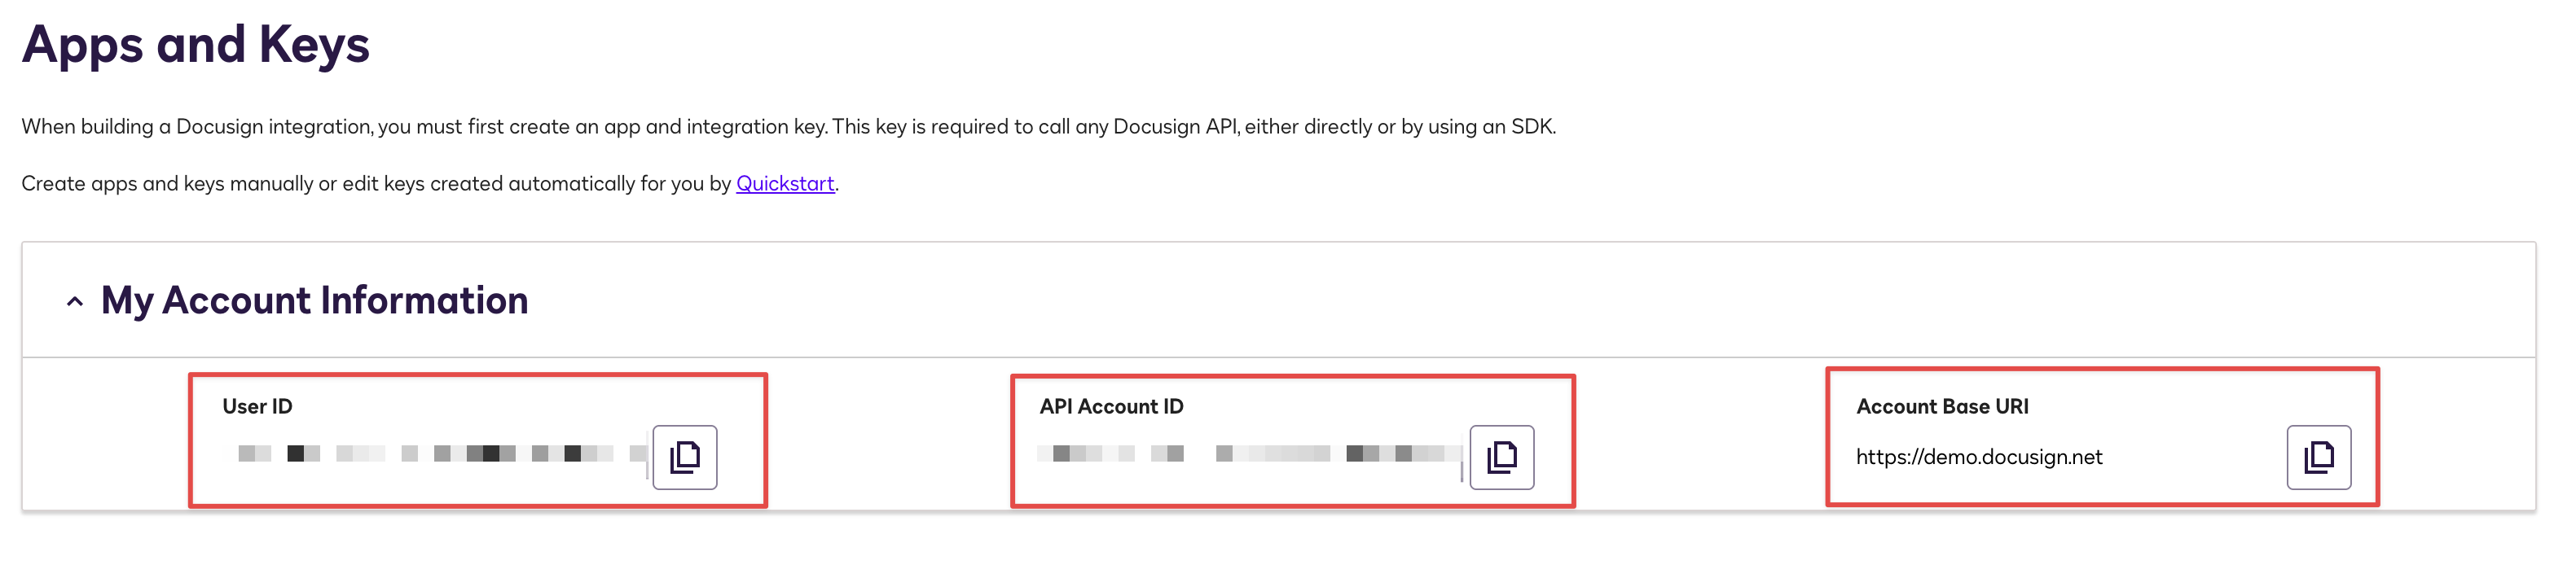
The User ID, Account ID and API Base URL will be displayed at the top.
Click "Add App and Integration Key" and name the app (example: "Glide").

Select "Third Party Integration Key".

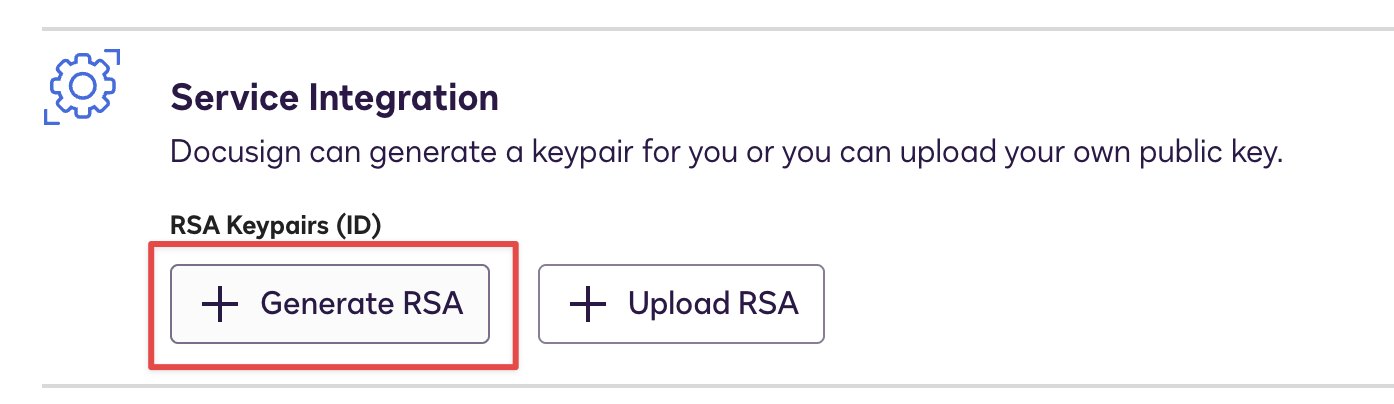
Click "Generate RSA" and copy the Private and Public keys provided. We will need the Private key.
Complete setup of the App and click "Save".
The integration key will be displayed next to your new app.

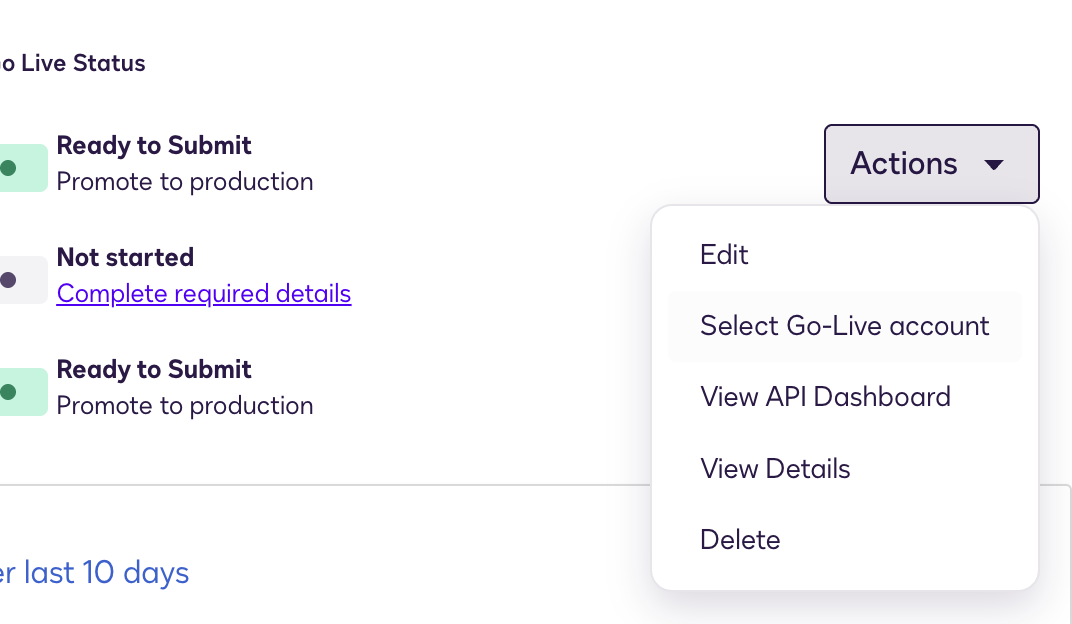
Finally, click "Actions" and "Select Go-Live account" to set the app live.
MeridianLink
Set-up Steps
Configure Glide webhooks in MeridianLink. This step will be part of your implementation process with Glide.
How the Integration Works
The loan application is approved and a DocuSign document is created in your LOS.
The LOS will fire a webhook to Glide with the information about the DocuSign document.
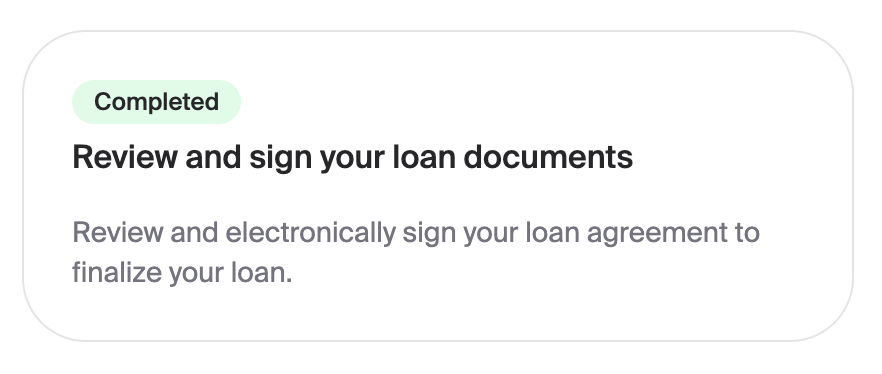
Glide will create a new applicant task for the user to sign their loan documents.
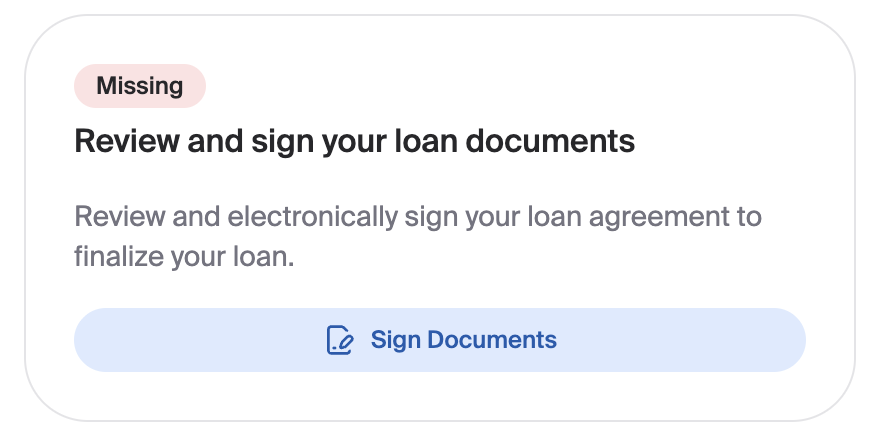
When the user clicks "Sign Documents", Glide will render the DocuSign experience directly in the Glide onboarding dashboard.
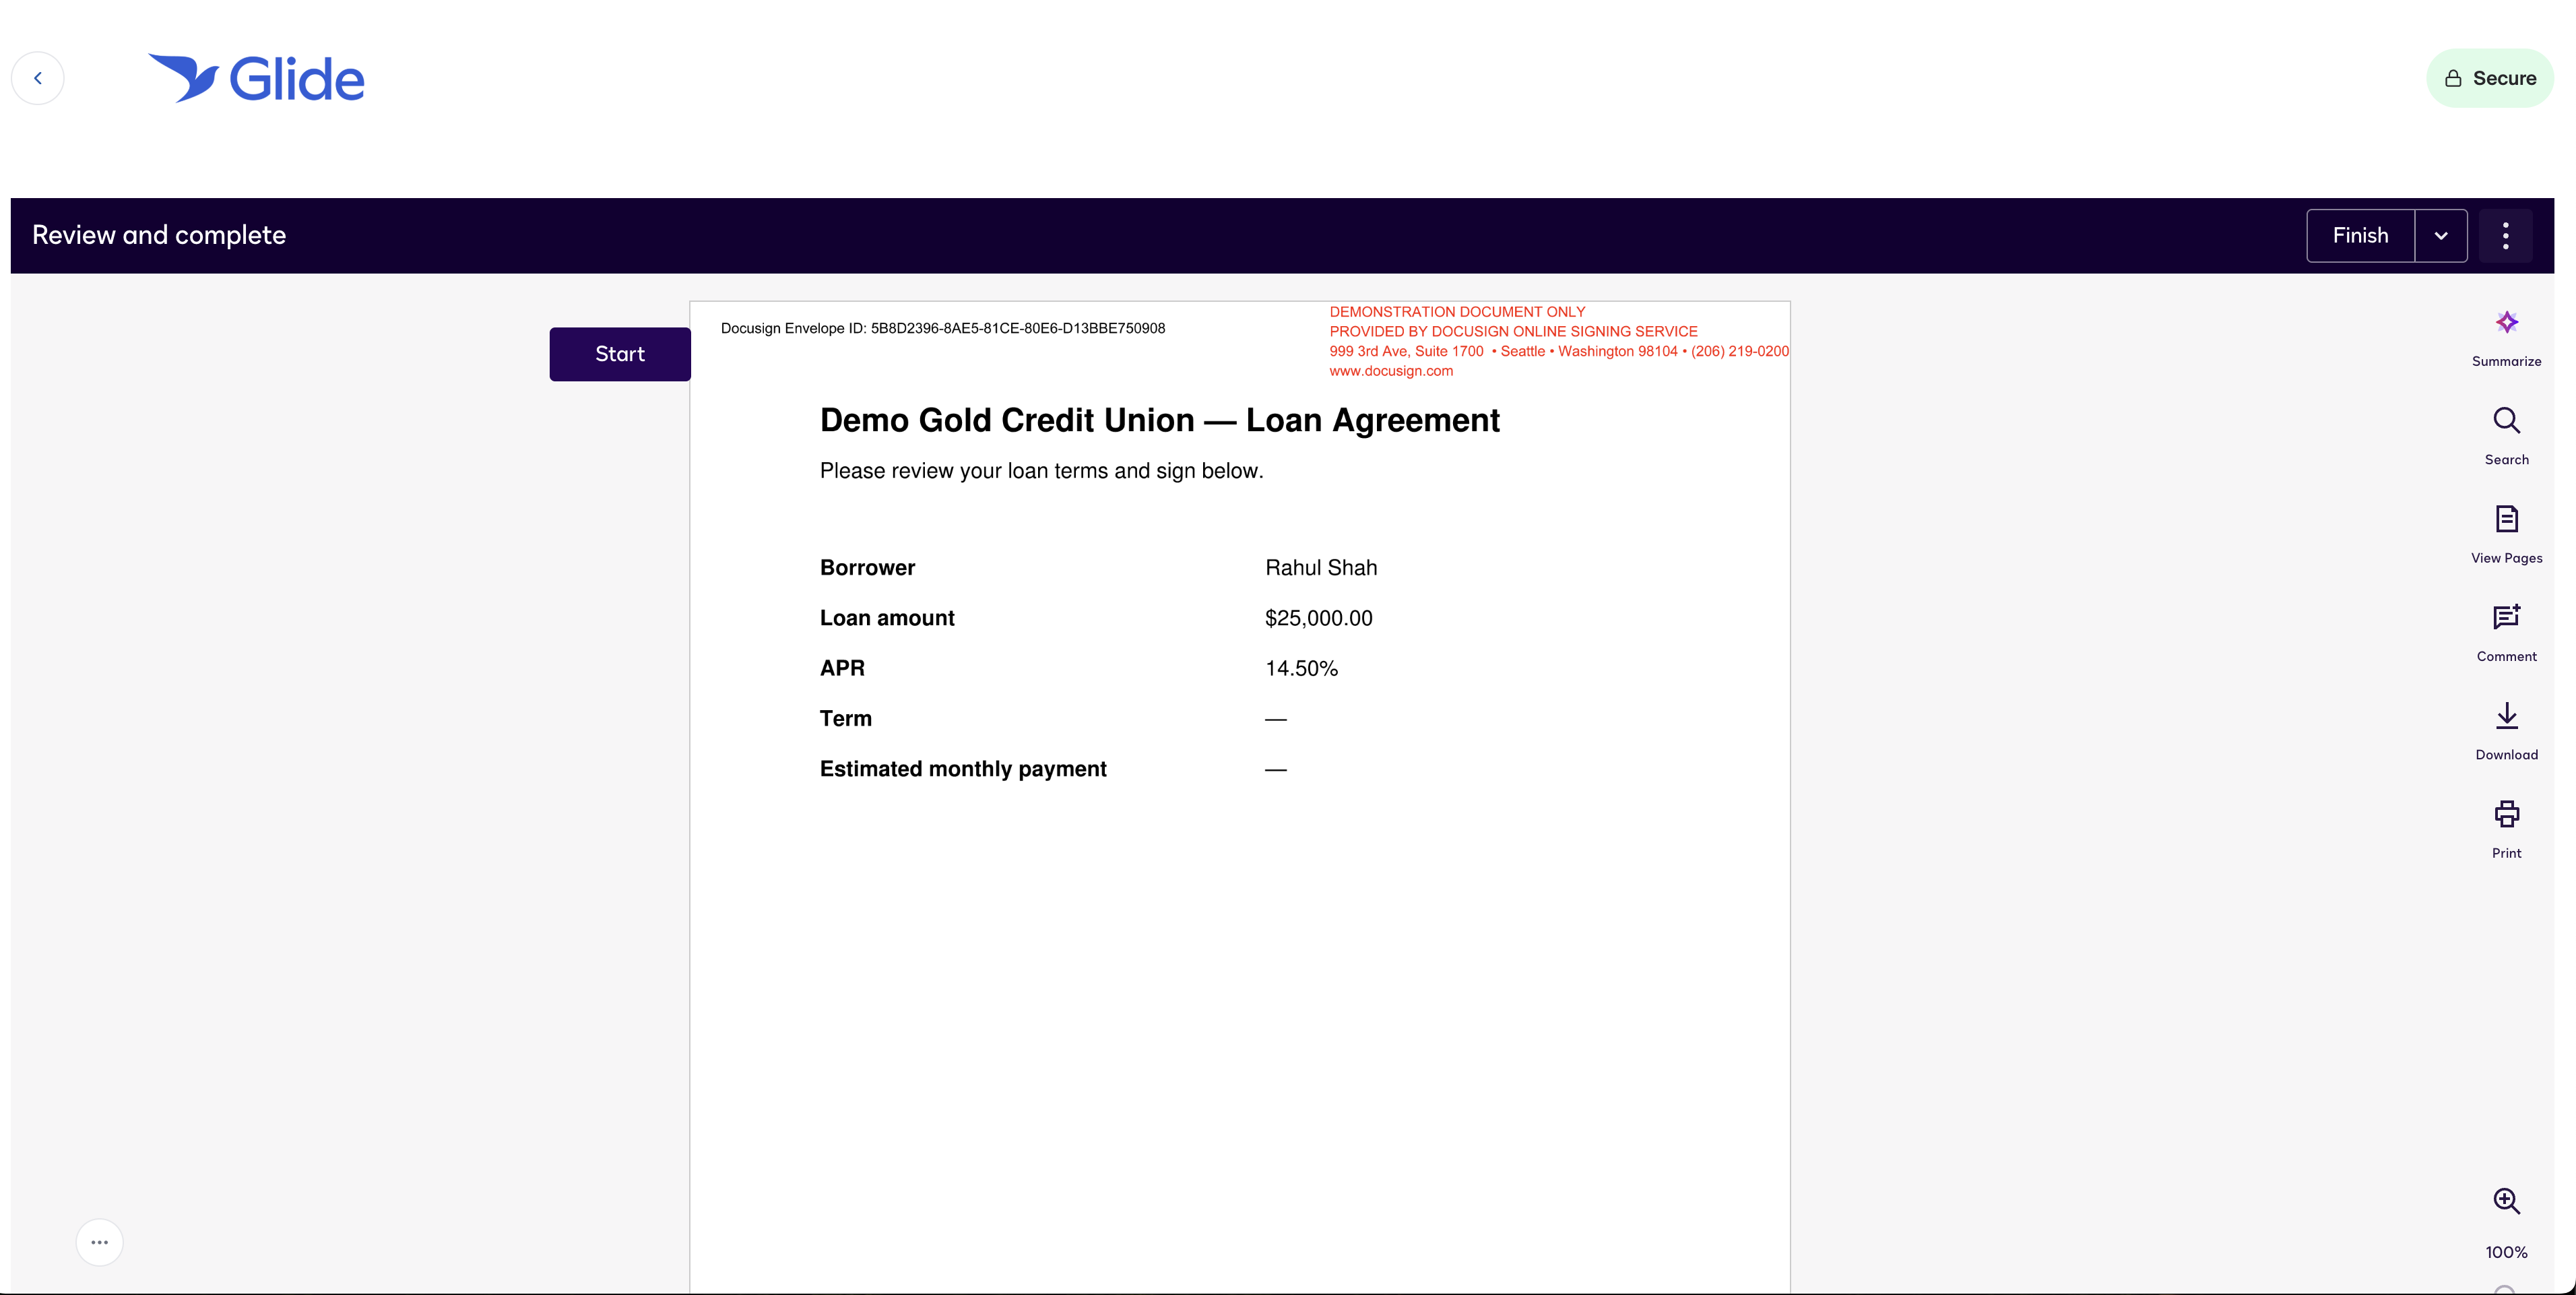
After the user has signed the documents, the applicant task will be marked as completed in Glide, and the user will receive a confirmation email.