Google Analytics (GTM)
Last updated: May 6, 2026
Overview
Glide uses Google Tag Manager to allow credit unions to see analytics data in GTM/GA4. Glide provides granular data on a per-user level which provides information such as user’s membership type, deposit activity, savings and others (full list provided below).
This opens up possibility for FIs to capture a wealth of data about products members are opening and perform effective targeted re-marketing campaigns.
User-specific analytics tracked by Glide
glide_id- Unique User IDglide_membership_type- The membership type that user has selectedglide_savings- The saving product that user has selectedglide_checking- The checking product that user has selectedglide_certificate- The certificate product that user has selectedglide_deposit- Details when user make a deposit (product, amount and payment method)
Setup Instructions
Google Tag Manager setup
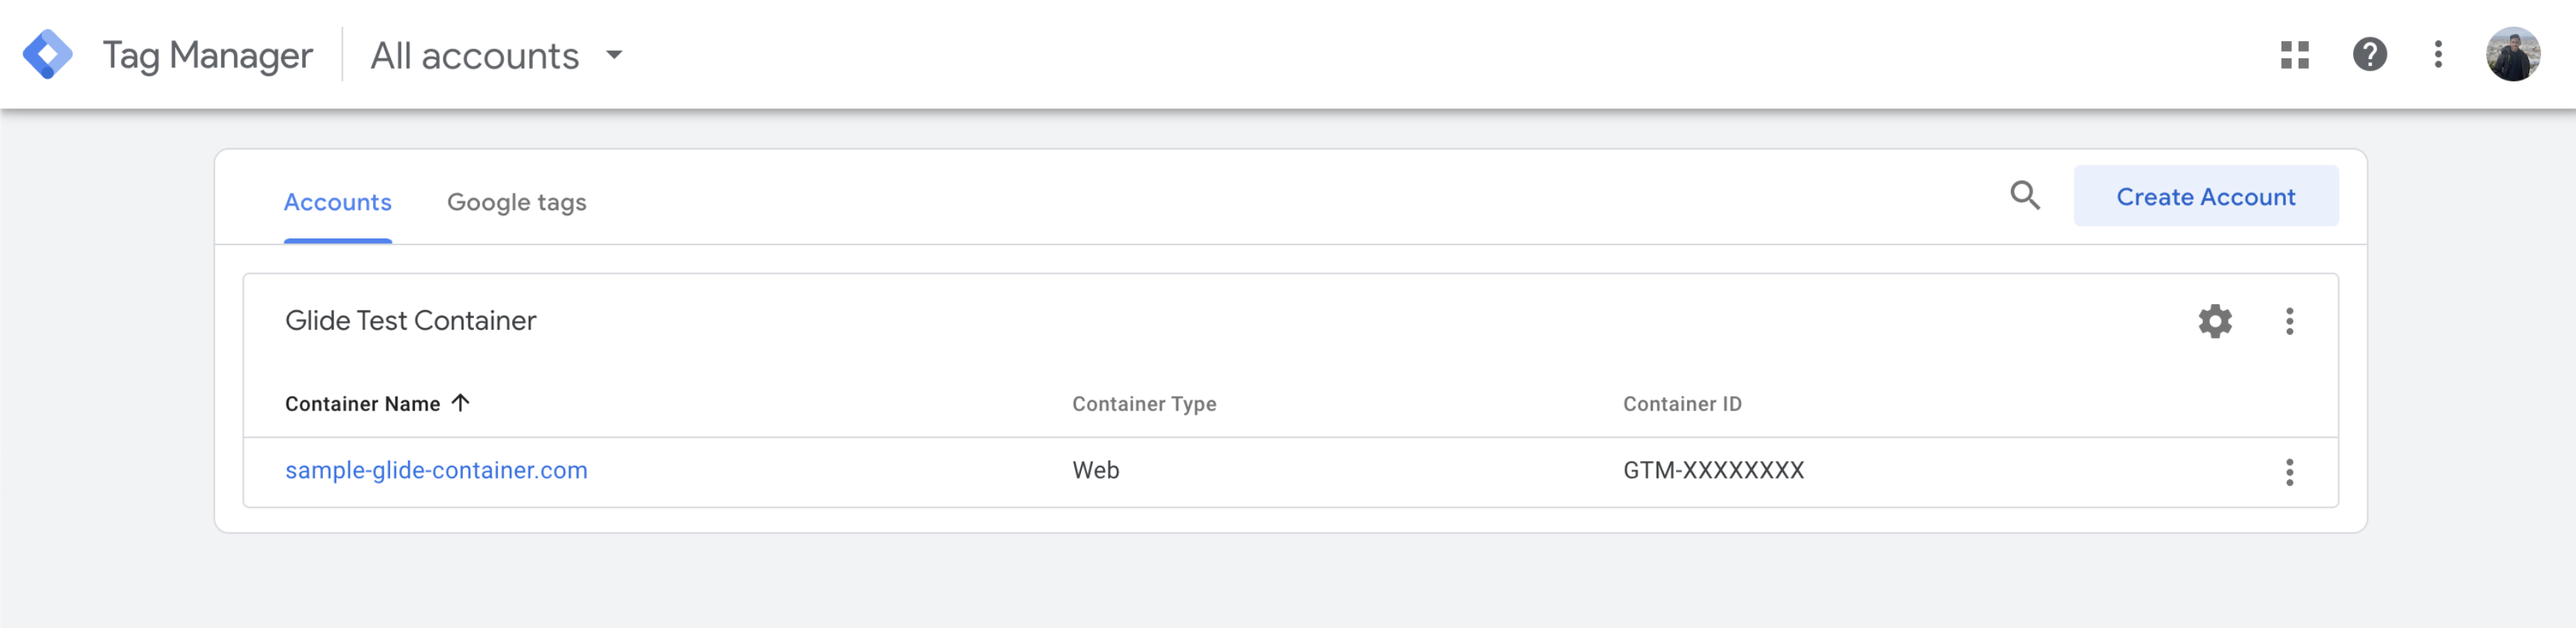
Navigate to Google Tag Manager home page
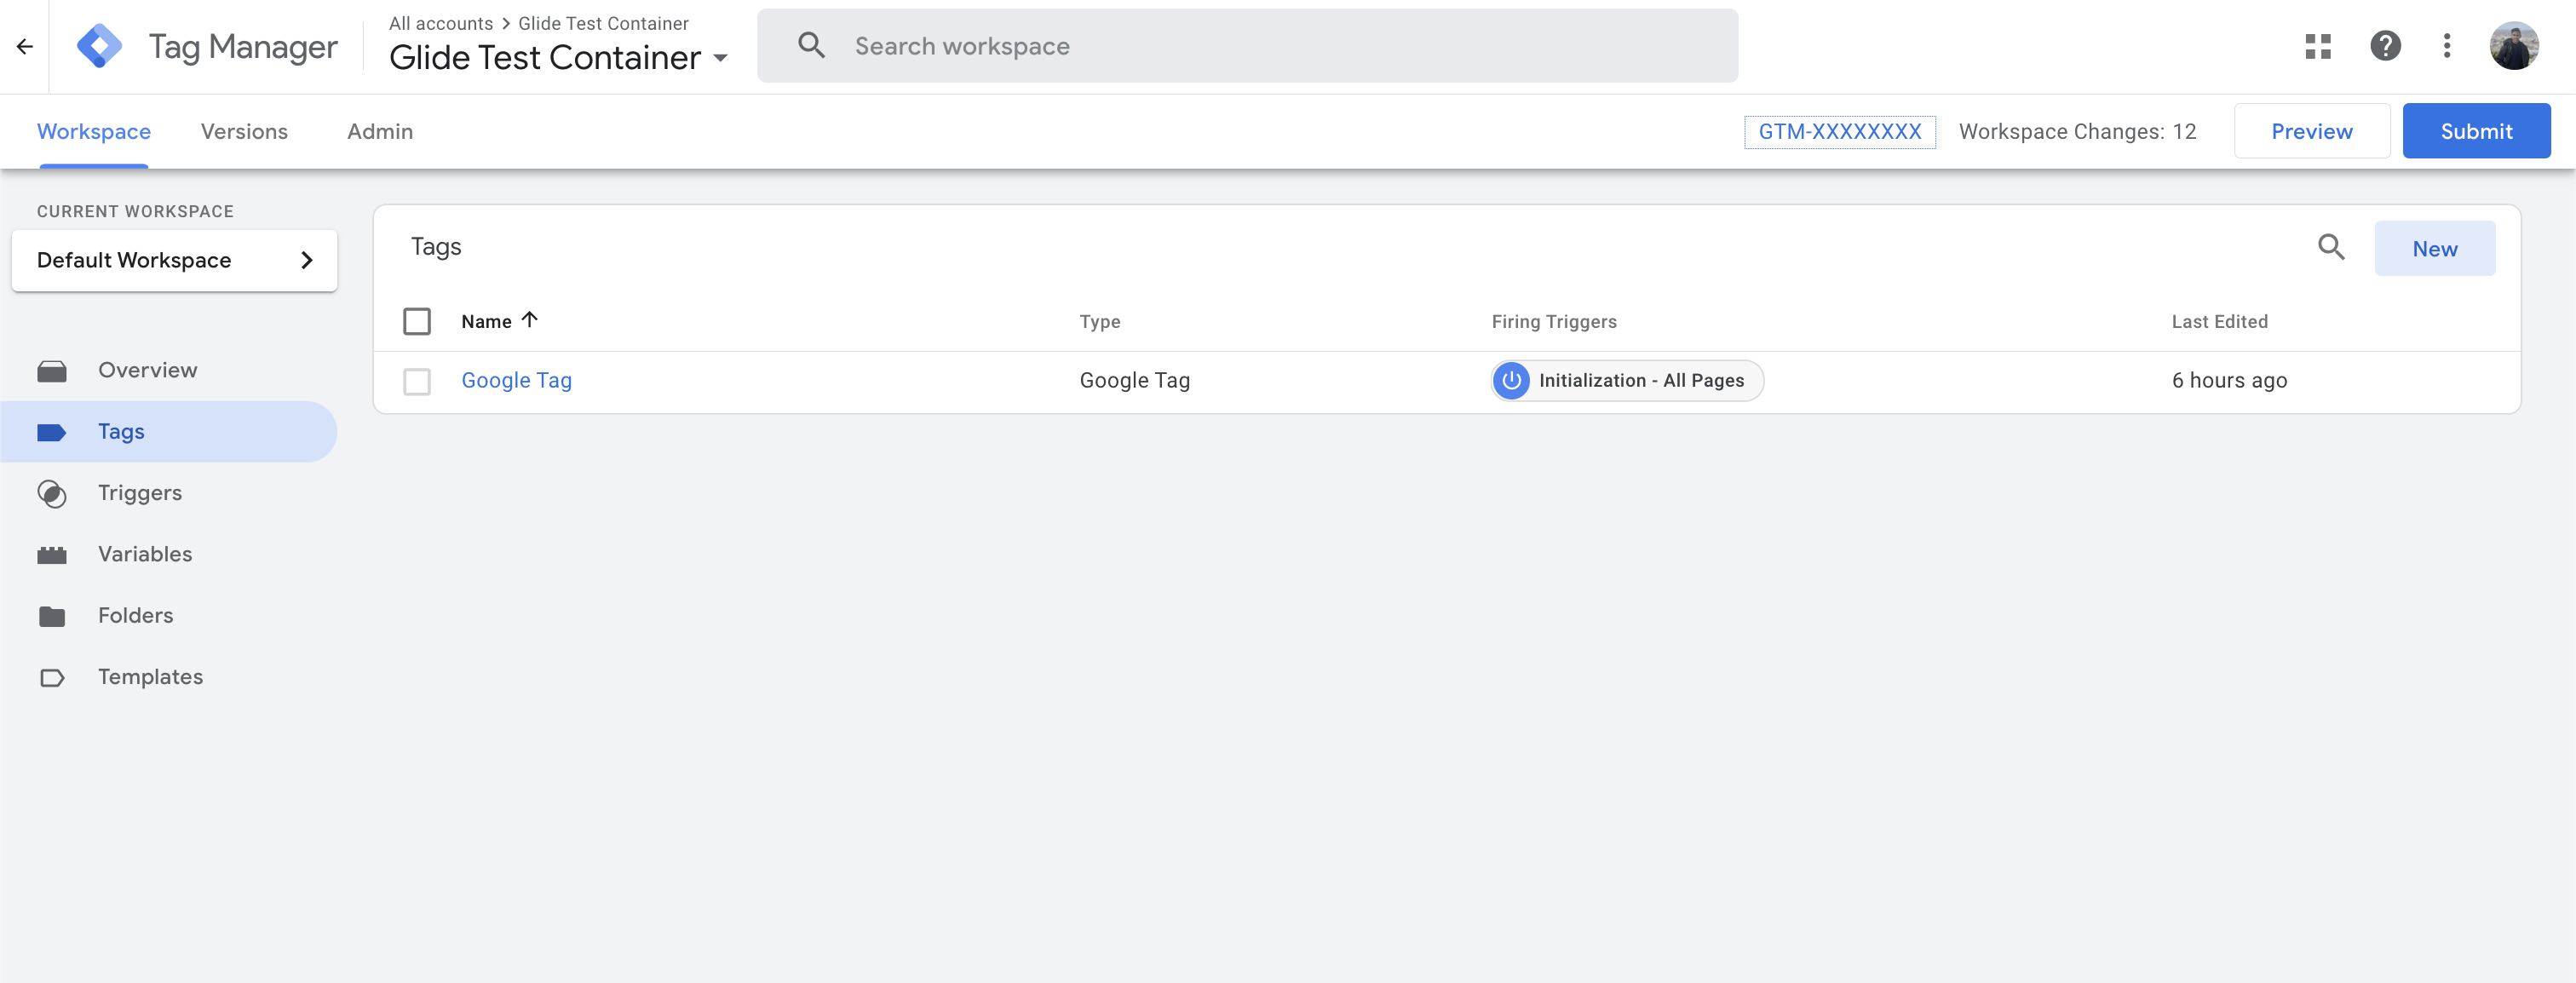
Copy your Container ID which looks like GTM-XXXXXXX and share with Glide
Create Data Layer Variables
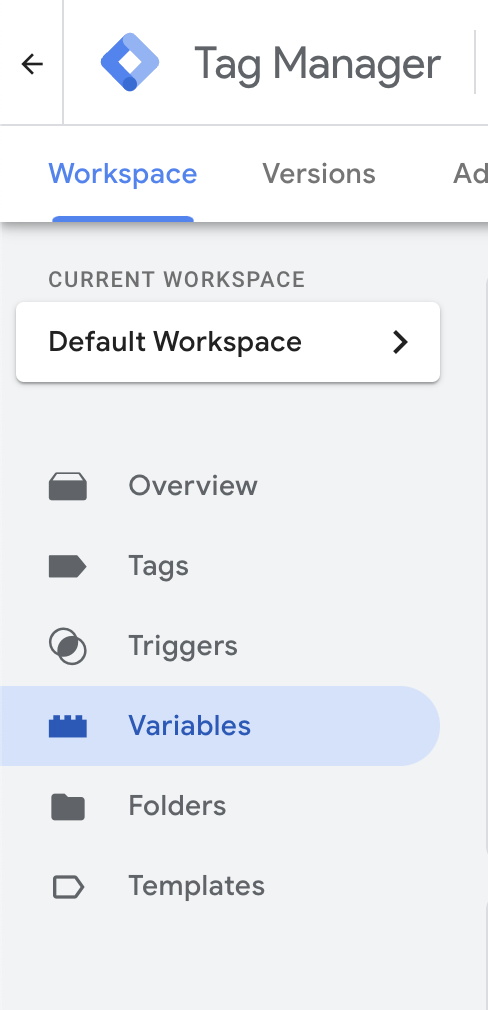
Navigate to Google Tag Manager home page
Select your Container
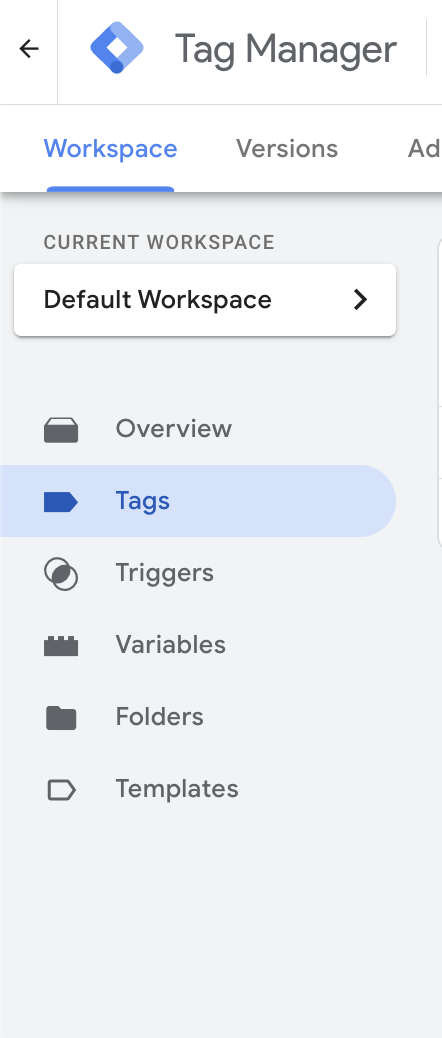
Click on “Variables”
4. Click “New” on User-Defined Variables
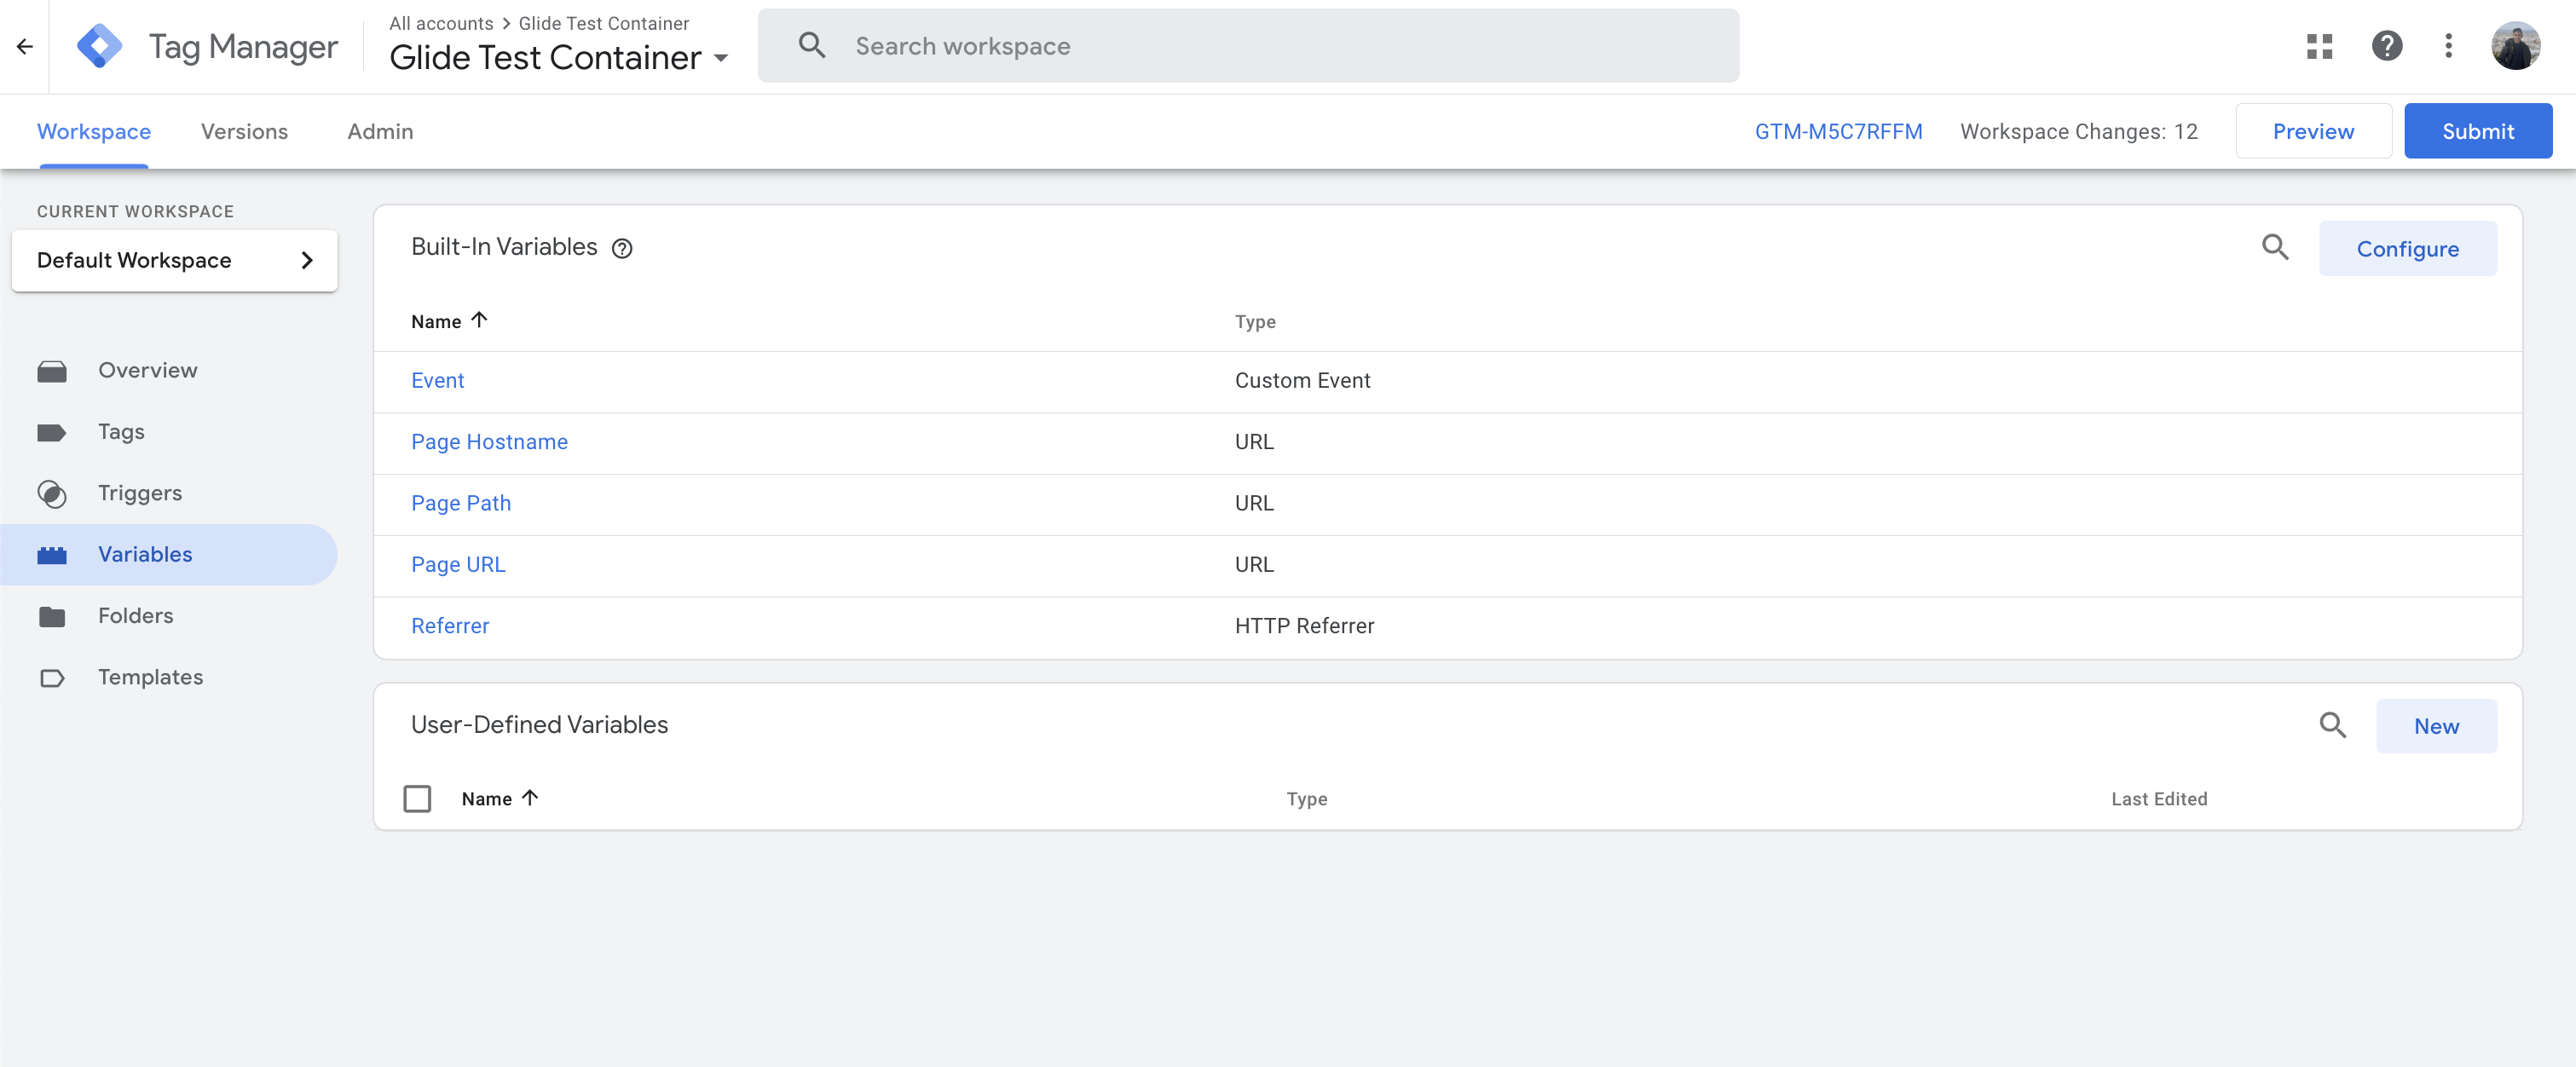
5. Create new Data Layer Variable
a. Click on Variable Type and select Data Layer Variable
b. Enter glide_id as Data Layer Variable Name
c. Name the variable as glide_id and click Save

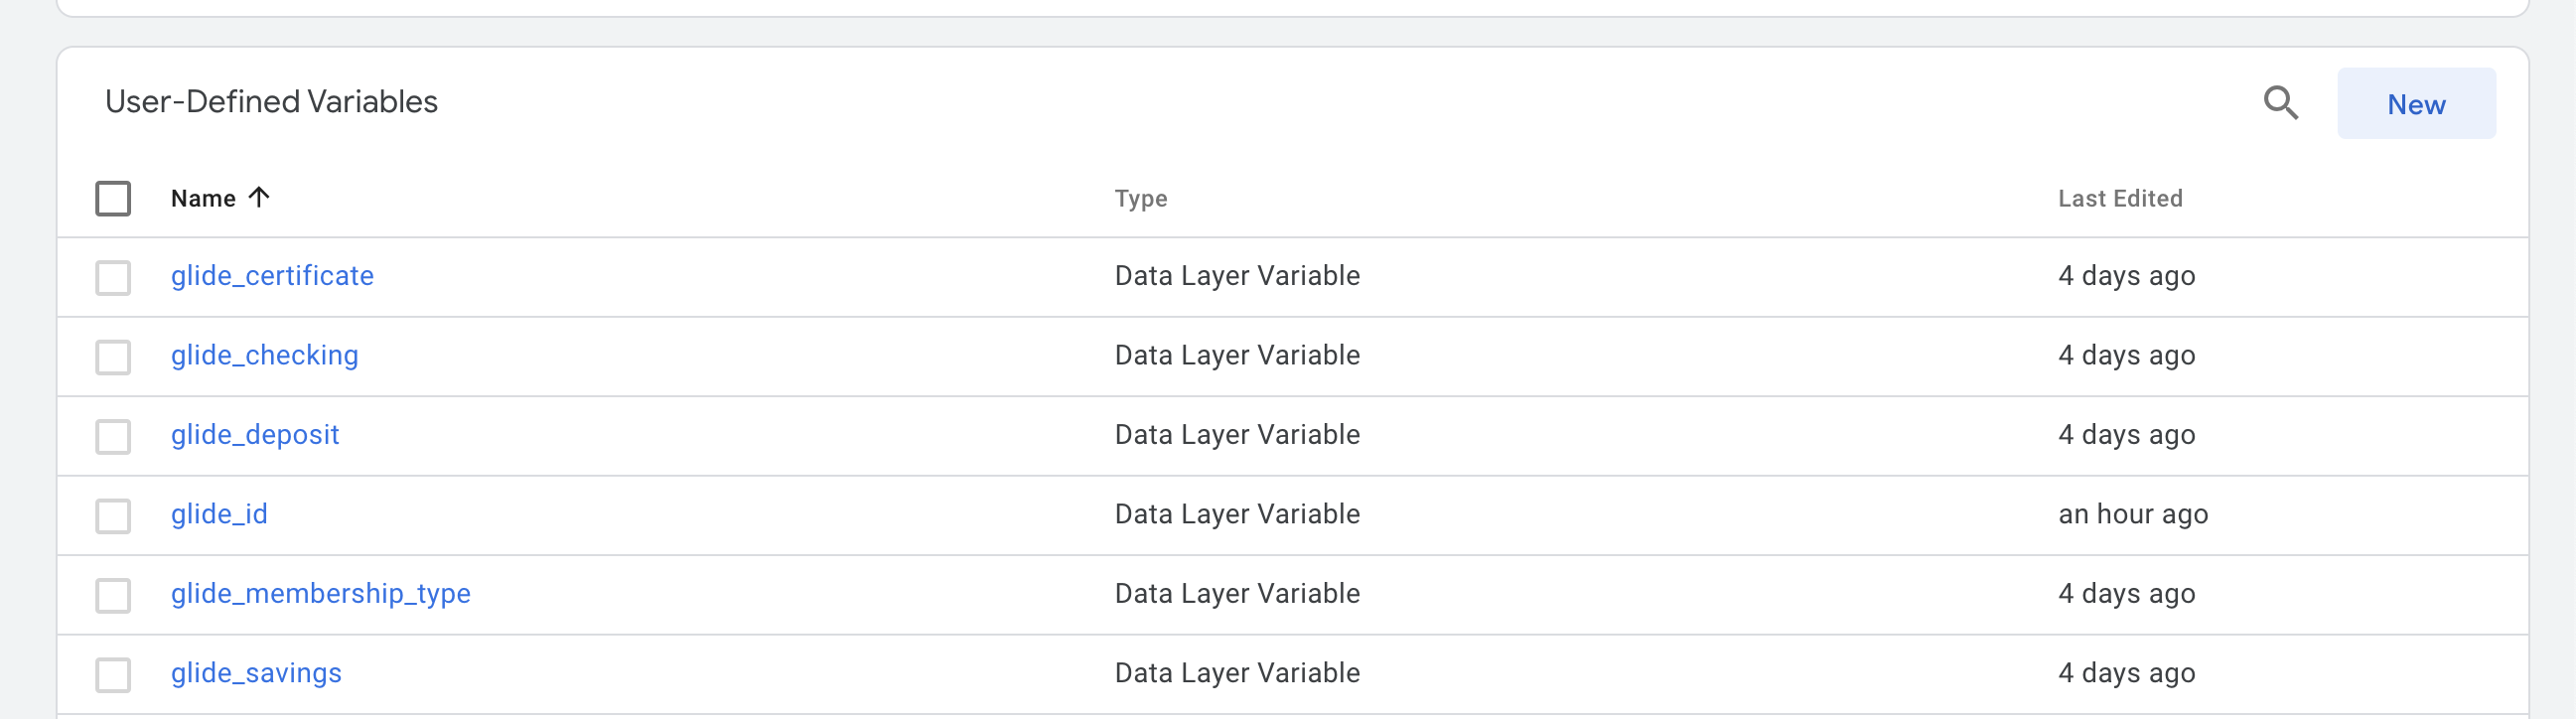
6. Repeat the step above and create Data Layer Variable for list below:
glide_id
glide_membership_type
glide_savings
glide_checking
glide_certificate
glide_deposit
Your User-Defined Variables should look like this after completion:
Verify Data Layer Setup
This section provides step to verify your setup and ensure that data is properly flowing from Glide to client’s Google Tag Manager.
Navigate to Google Tag Manager home page
Select your Container
Click on Preview button

4. Enter your CU’s Staging URL and click Start
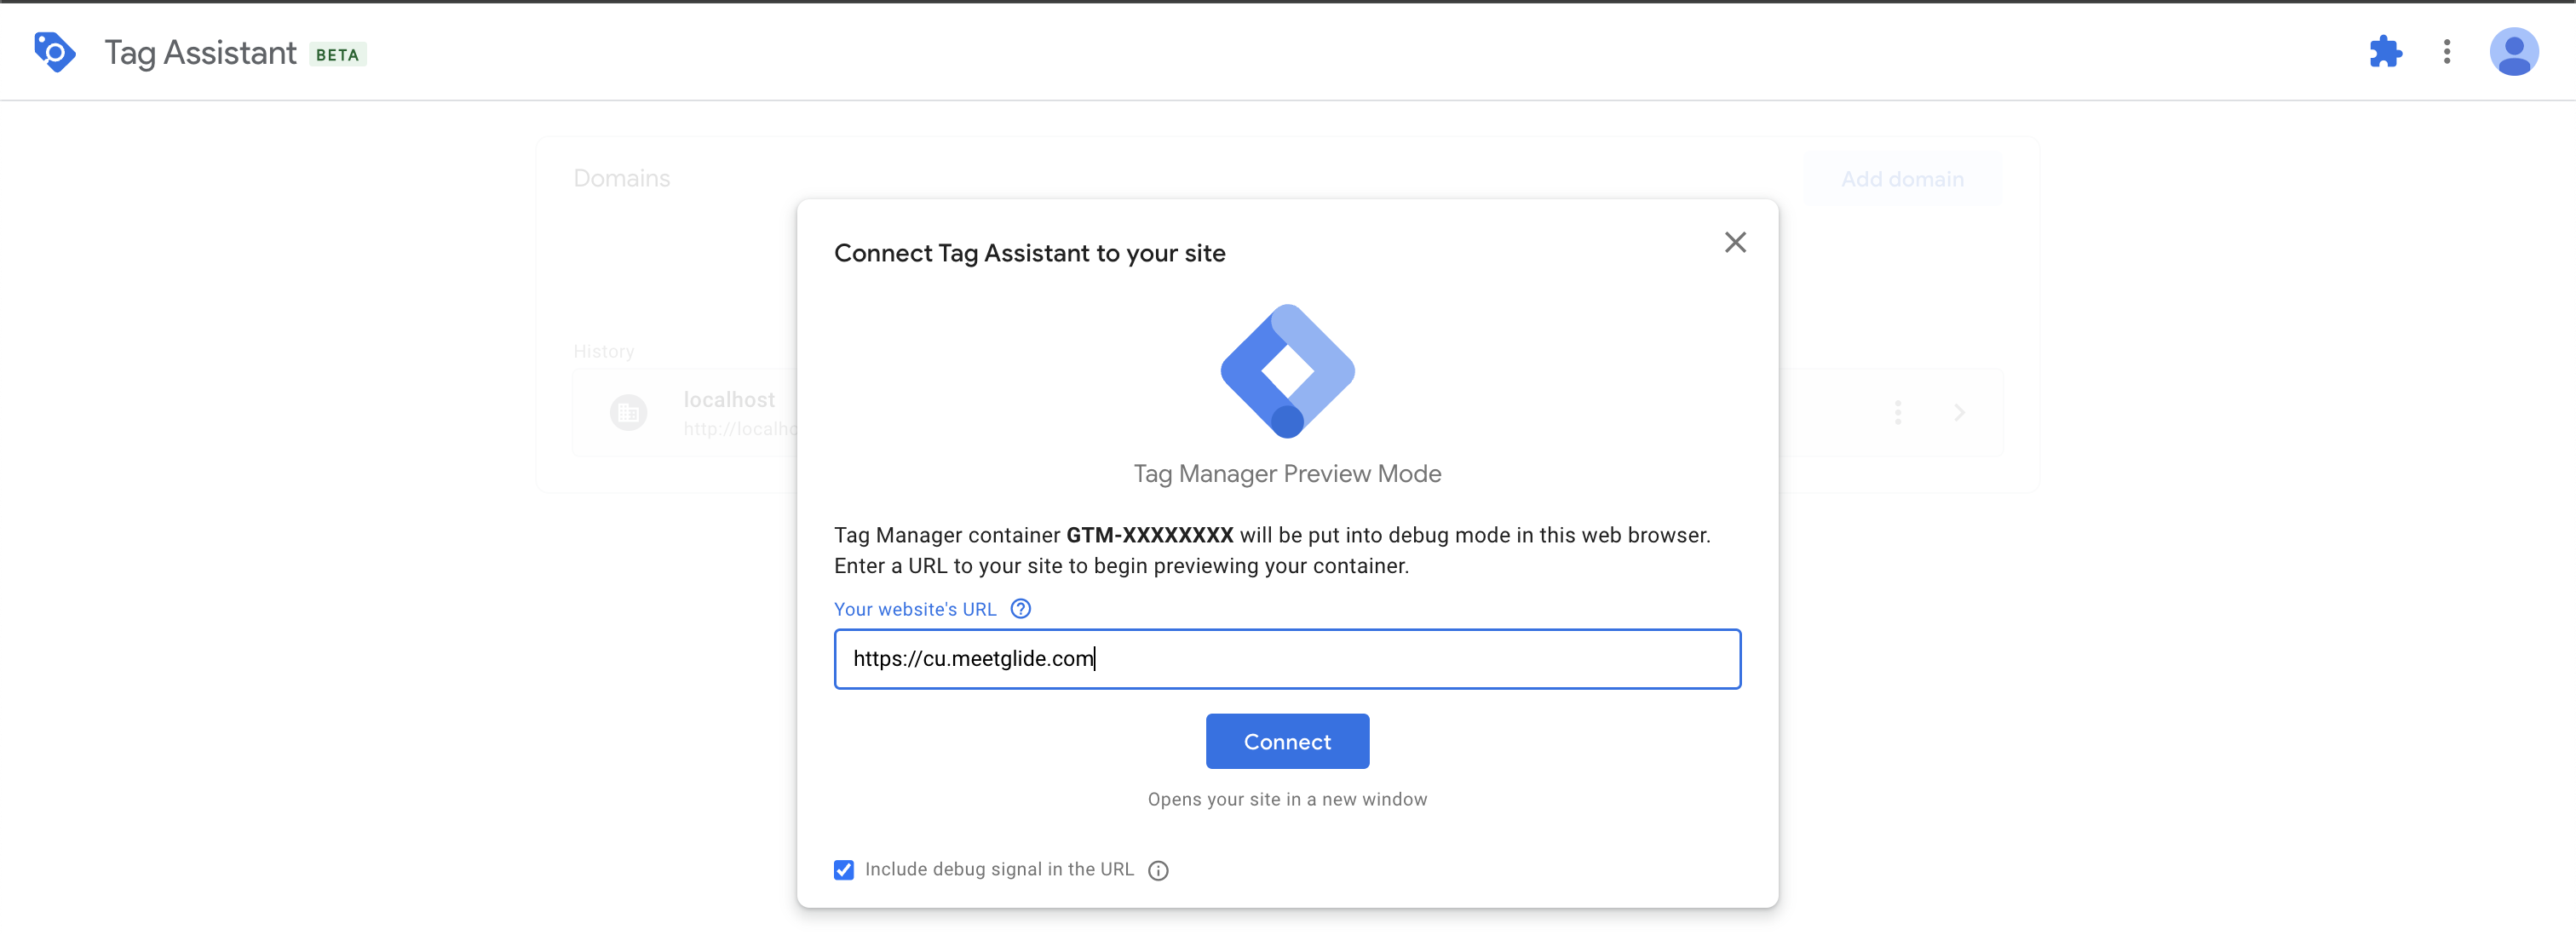
5. Interact with the Glide application
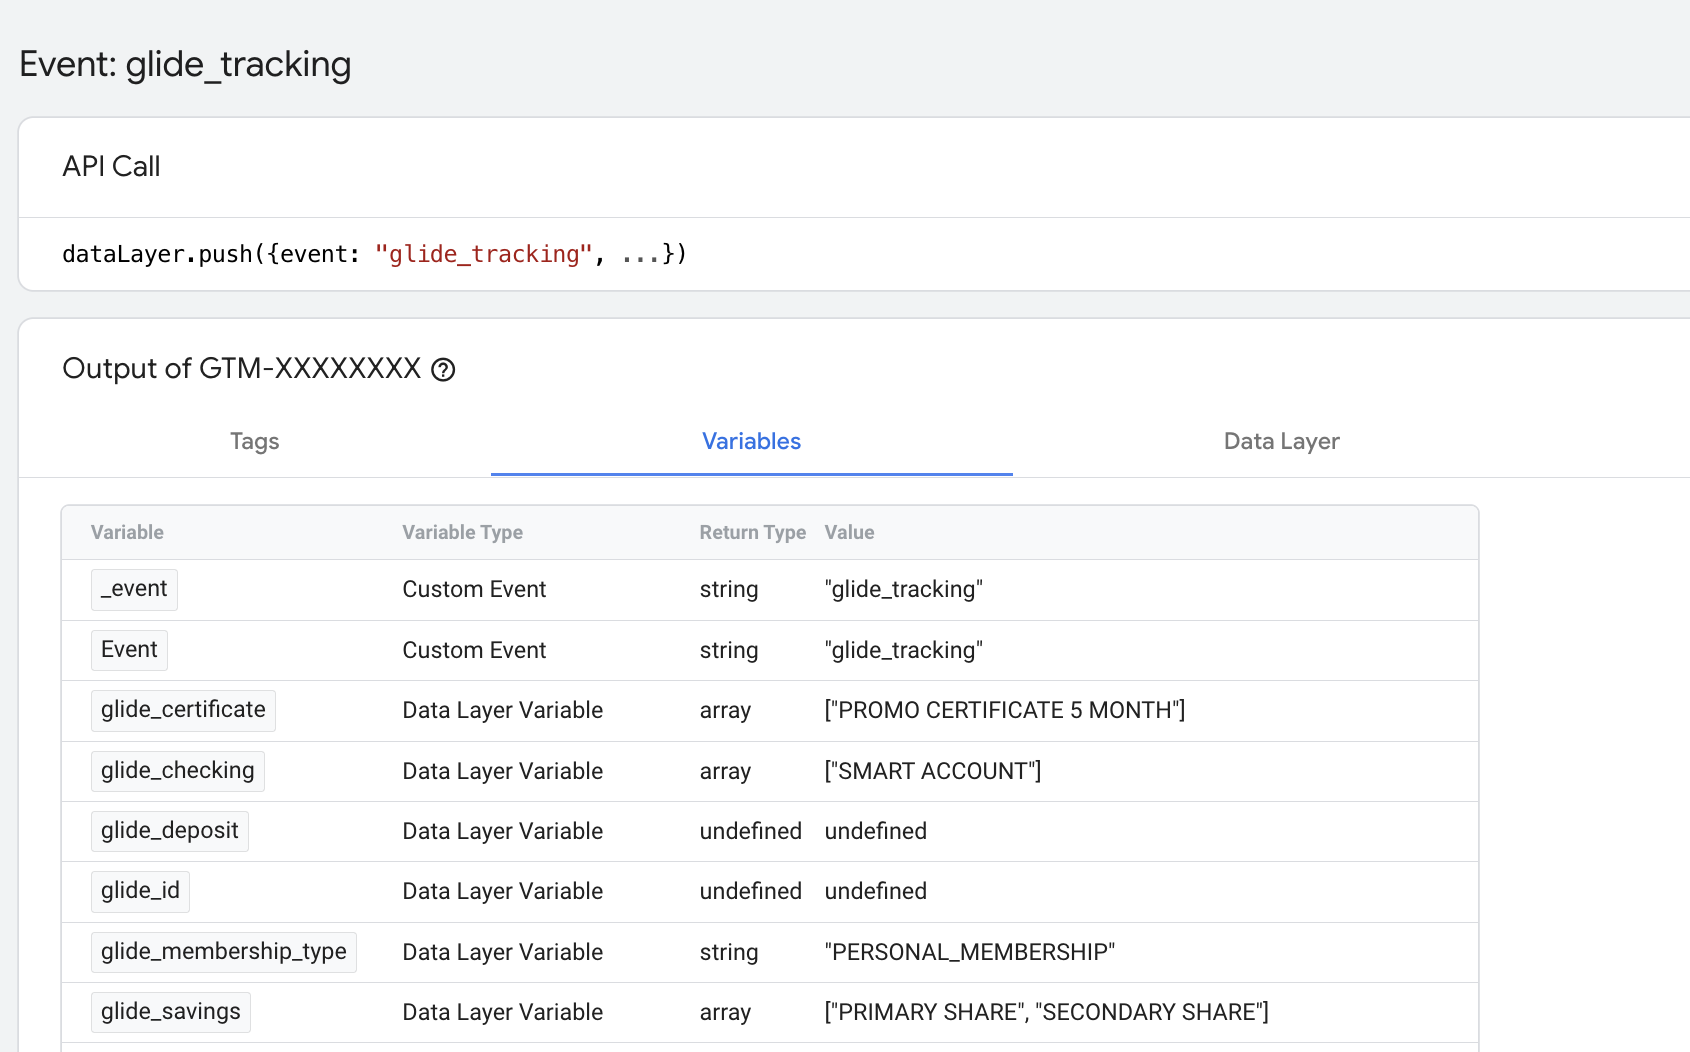
6. Click on Variables and you should see the Value column starts to populate as you go through the account opening flow
Sending Data from Google Tag Manager to Google Analytics
Note: There are many different ways to send data from Google Tag Manager to Google Analytics. Below is one possible implementation method.
Create Custom Trigger
Navigate to Triggers

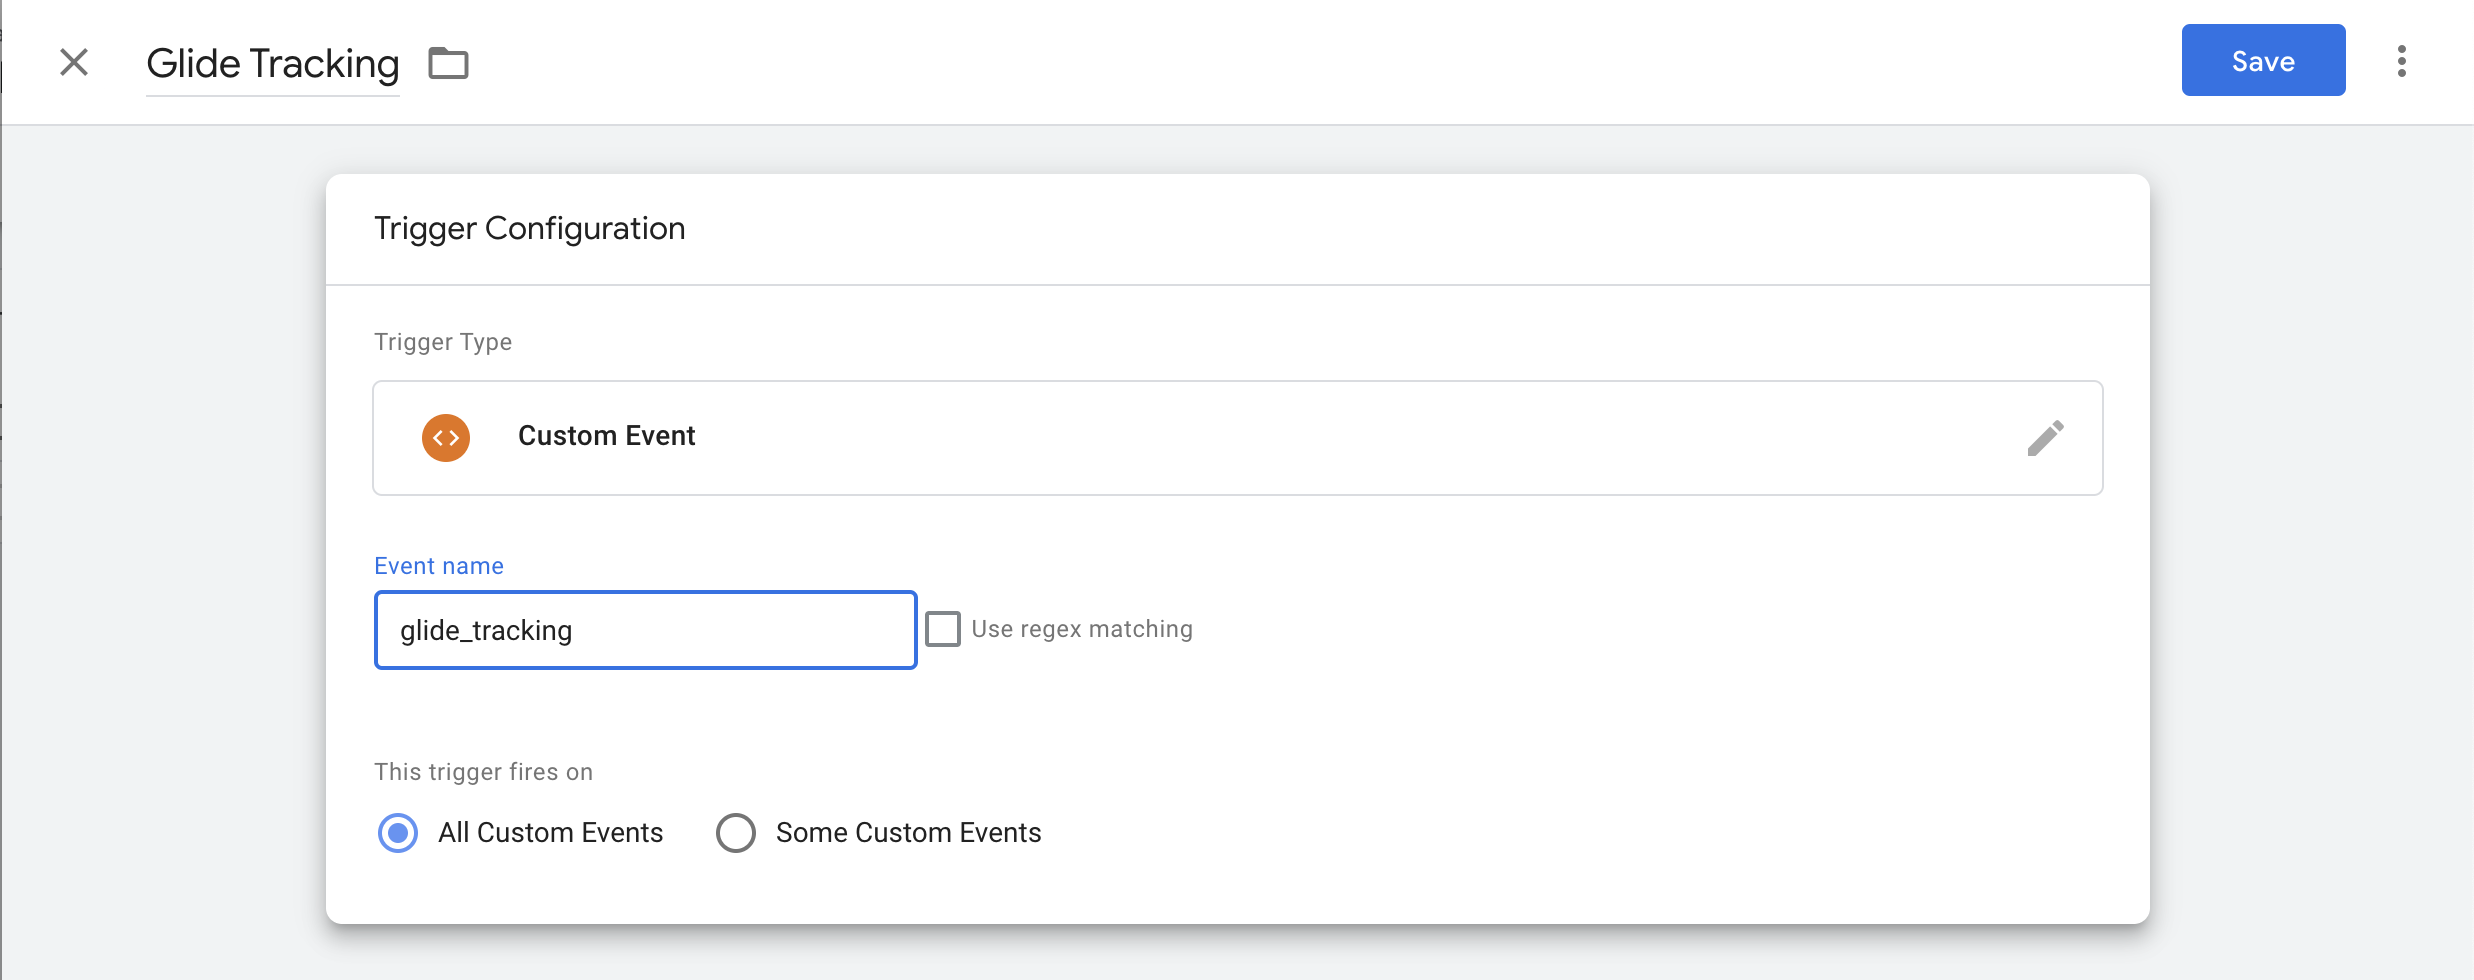
2. Create a New Trigger
a. Click on Trigger Type and select Custom Event
b. Enter glide_tracking as Event Name
c. Click Save
Create Google Tag: Event Settings
Navigate to Google Tag Manager home page
Select your Container
Click on “Variables”
4. Click “New” on User-Defined Variables
5. Create Google Tag Event Settings
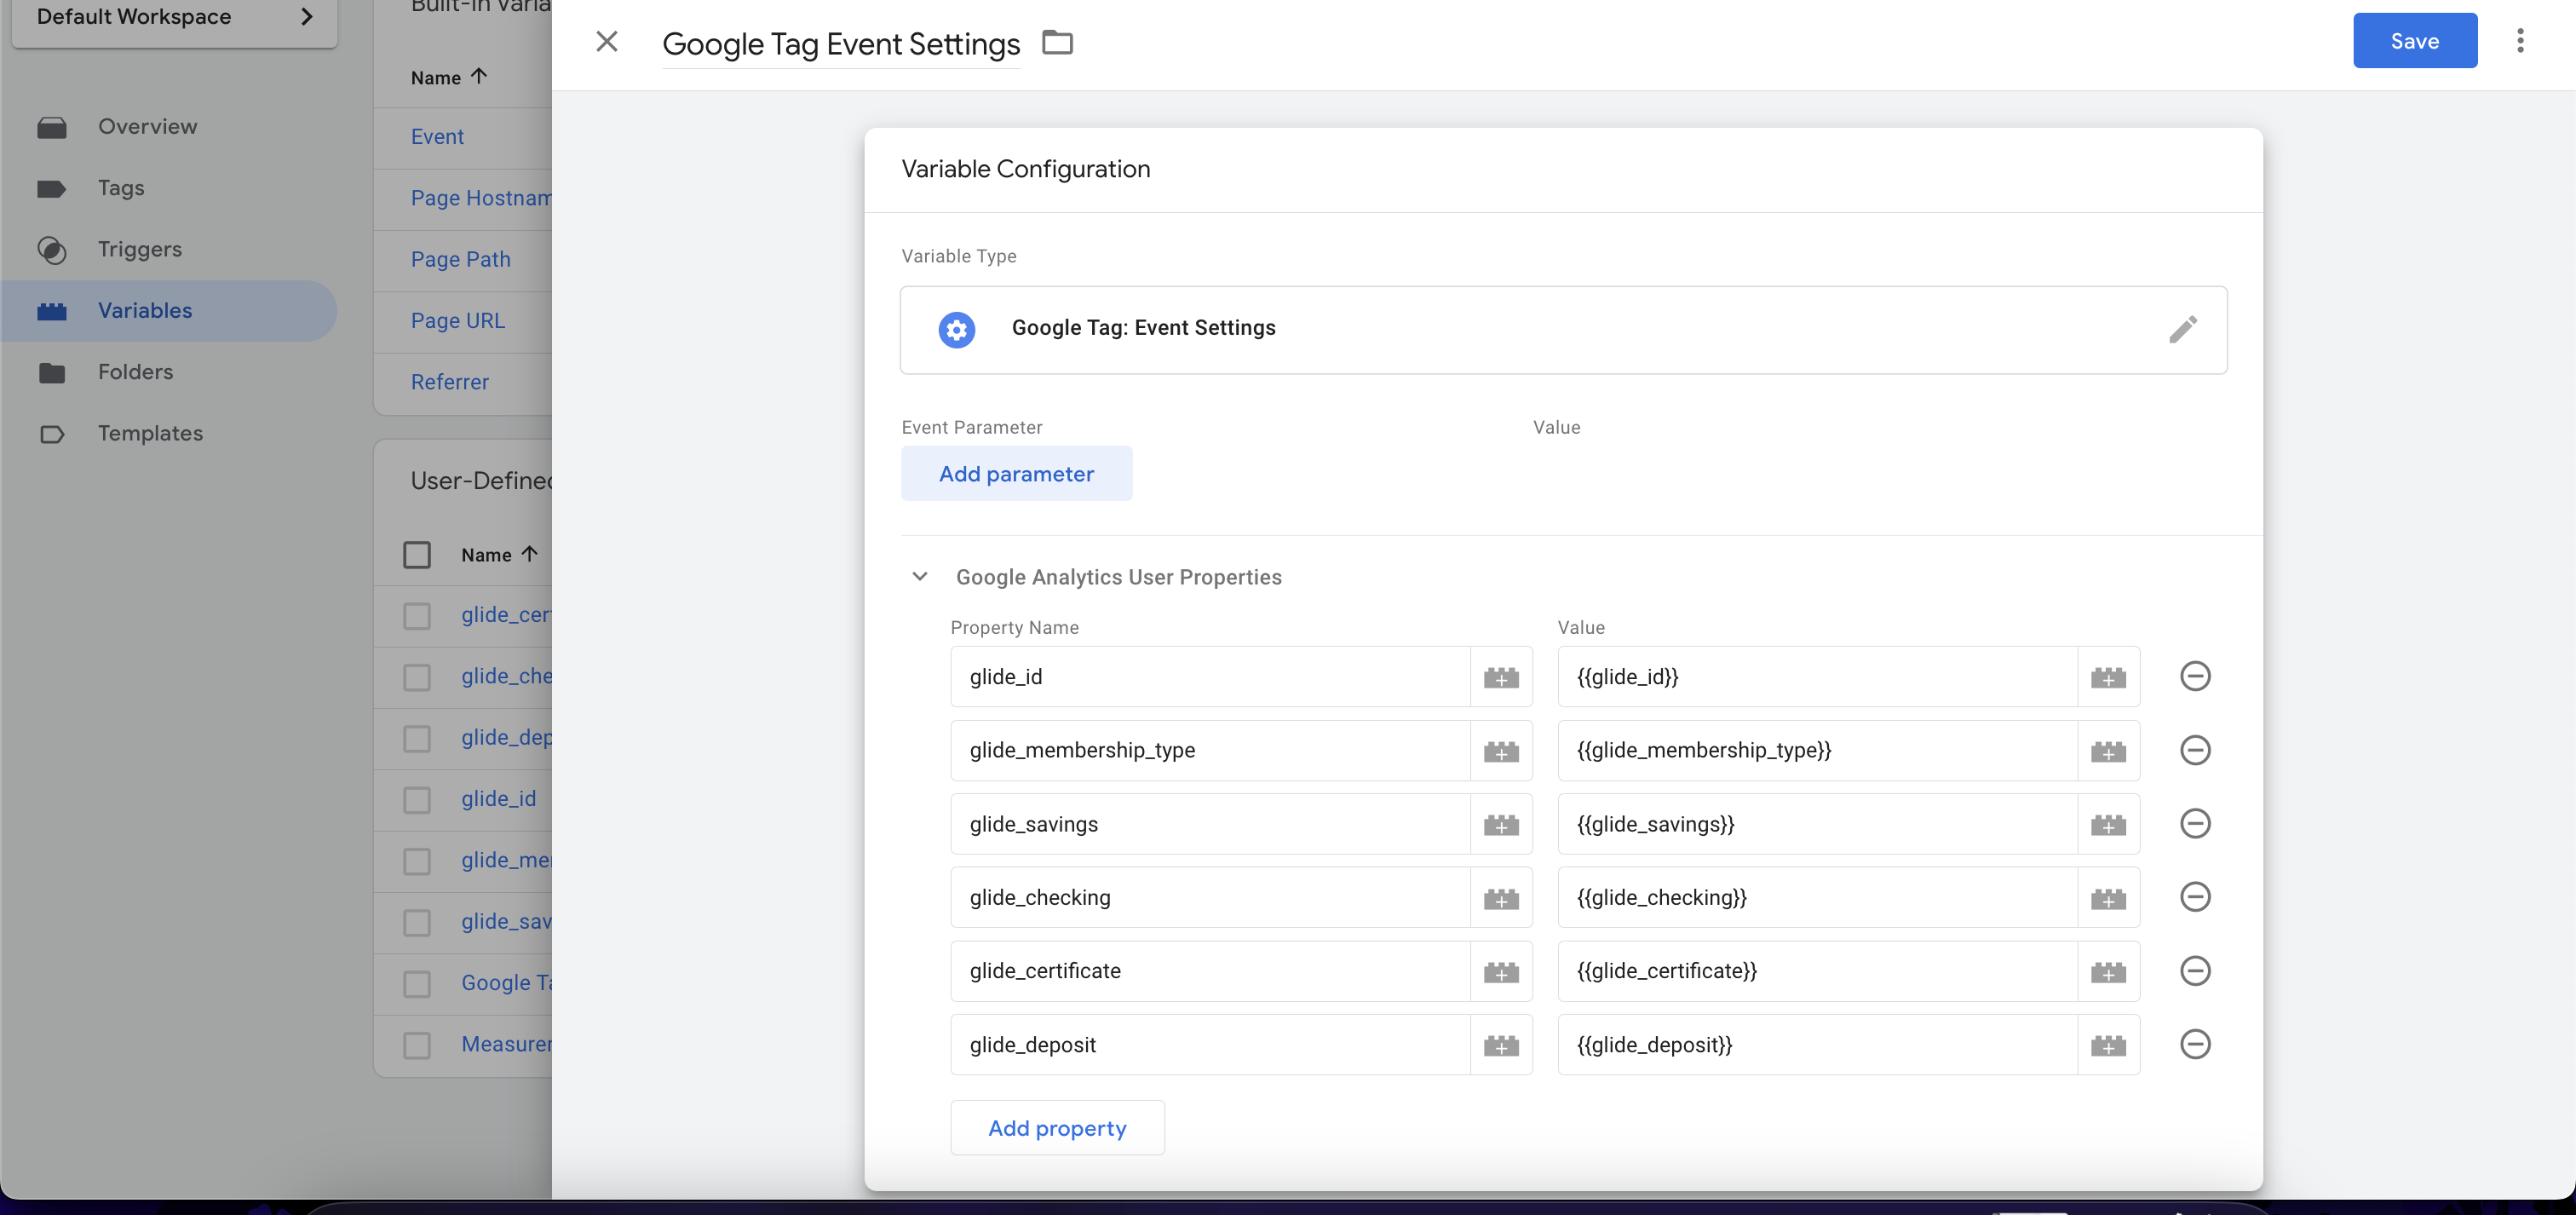
a. Click on Variable Type and select Google Tag: Event Settings
b. Expand Google Analytics User Properties section
c. Click on Add Property for the list below
i. glide_id
ii. glide_membership_type
iii. glide_savings
iv. glide_checking
v. glide_certificate
vi. glide_deposit
d. Once you’ve entered all the user properties as shown below, click Save
Create Tag
Navigate to Tags
2. Click on New to create a Tag
3. Create a GA Event Tag
a. Click on Tag Type and select Google Analytics - GA4 Event
b. Enter your measurement ID (this can be found in your Google Analytics)
c. Enter glide_tracking in Event Name field
d. Expand Event Parameters section and select Google Tag Event Settings that you’ve created in the ‘Create Google Tag: Event Settings” step

e. Click on Triggering > Select Glide Tracking (custom event) that you’ve created in “Create Custom Trigger” step

f. Click Save
Verify GA4 Setup
Navigate to Google Tag Manager home page
Select your Container
Click on Preview button
Enter your CU’s Staging URL and click Start
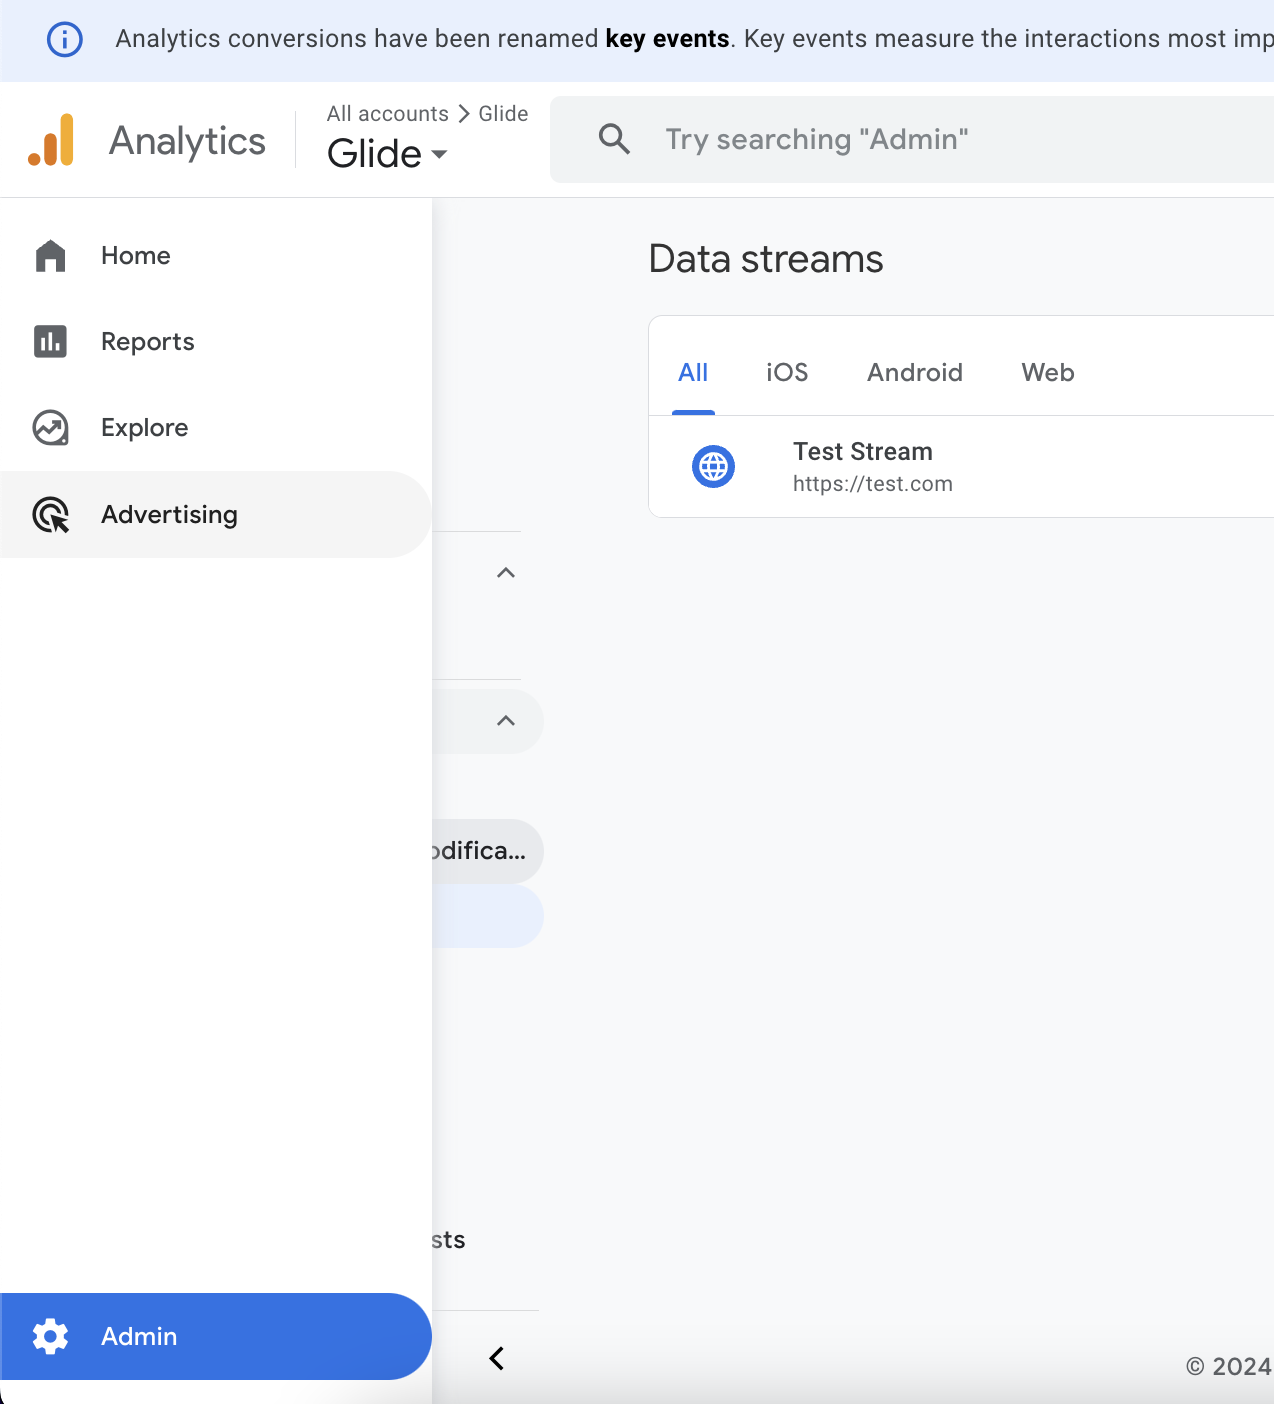
5. Navigate to Google Analytics
6. Click on Admin
7. Click on Data Display > Debug View
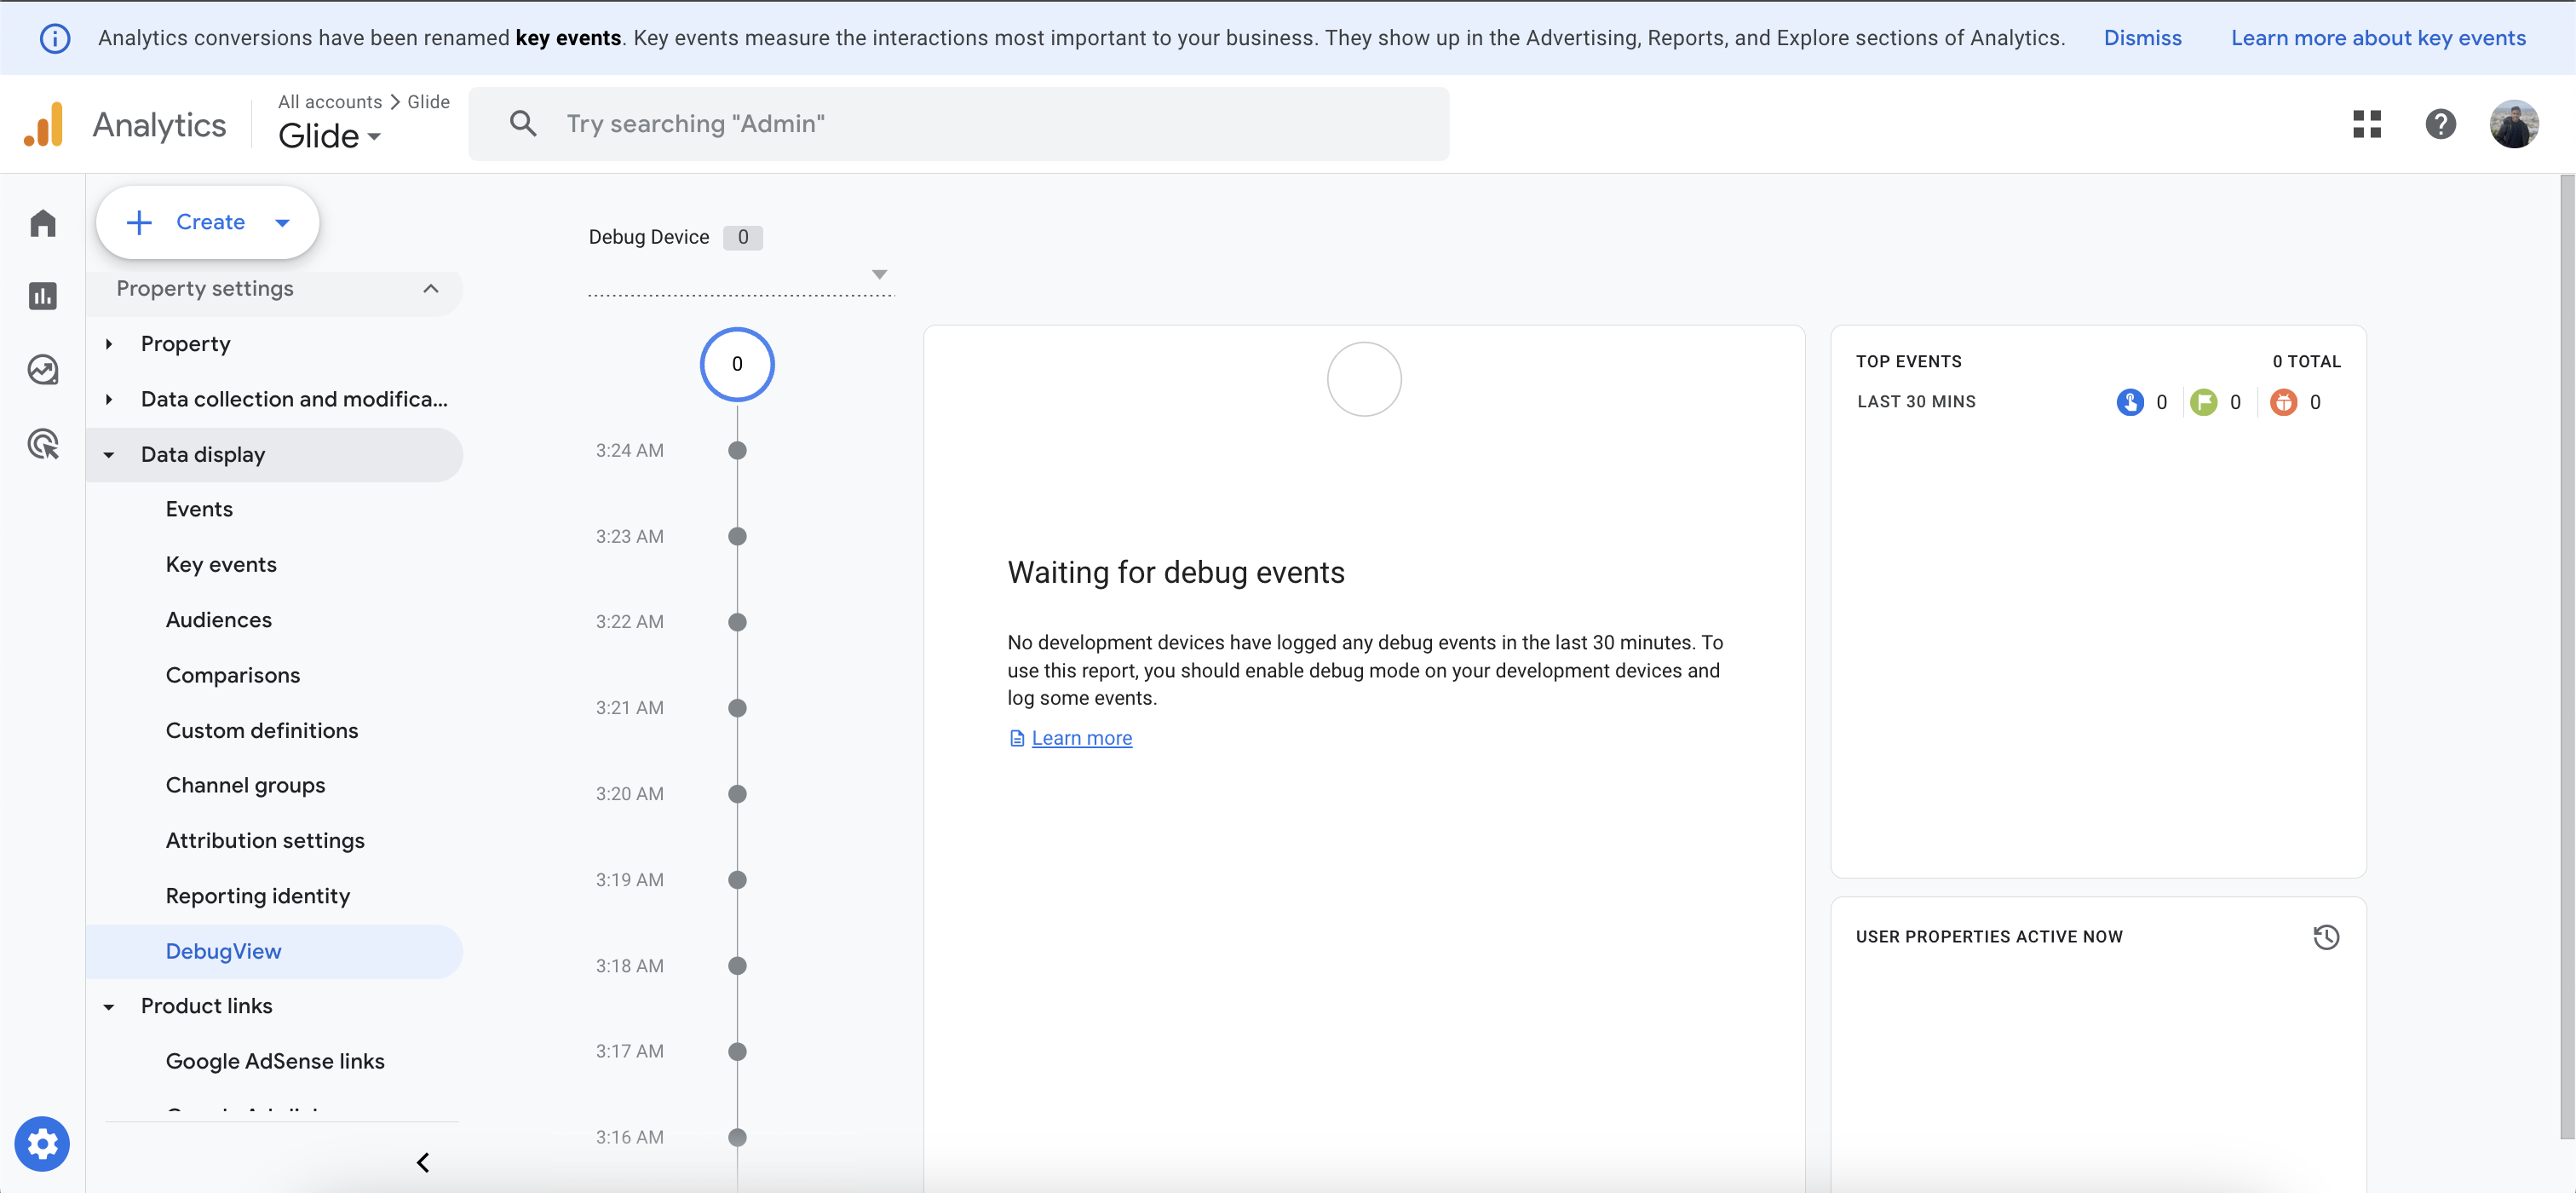
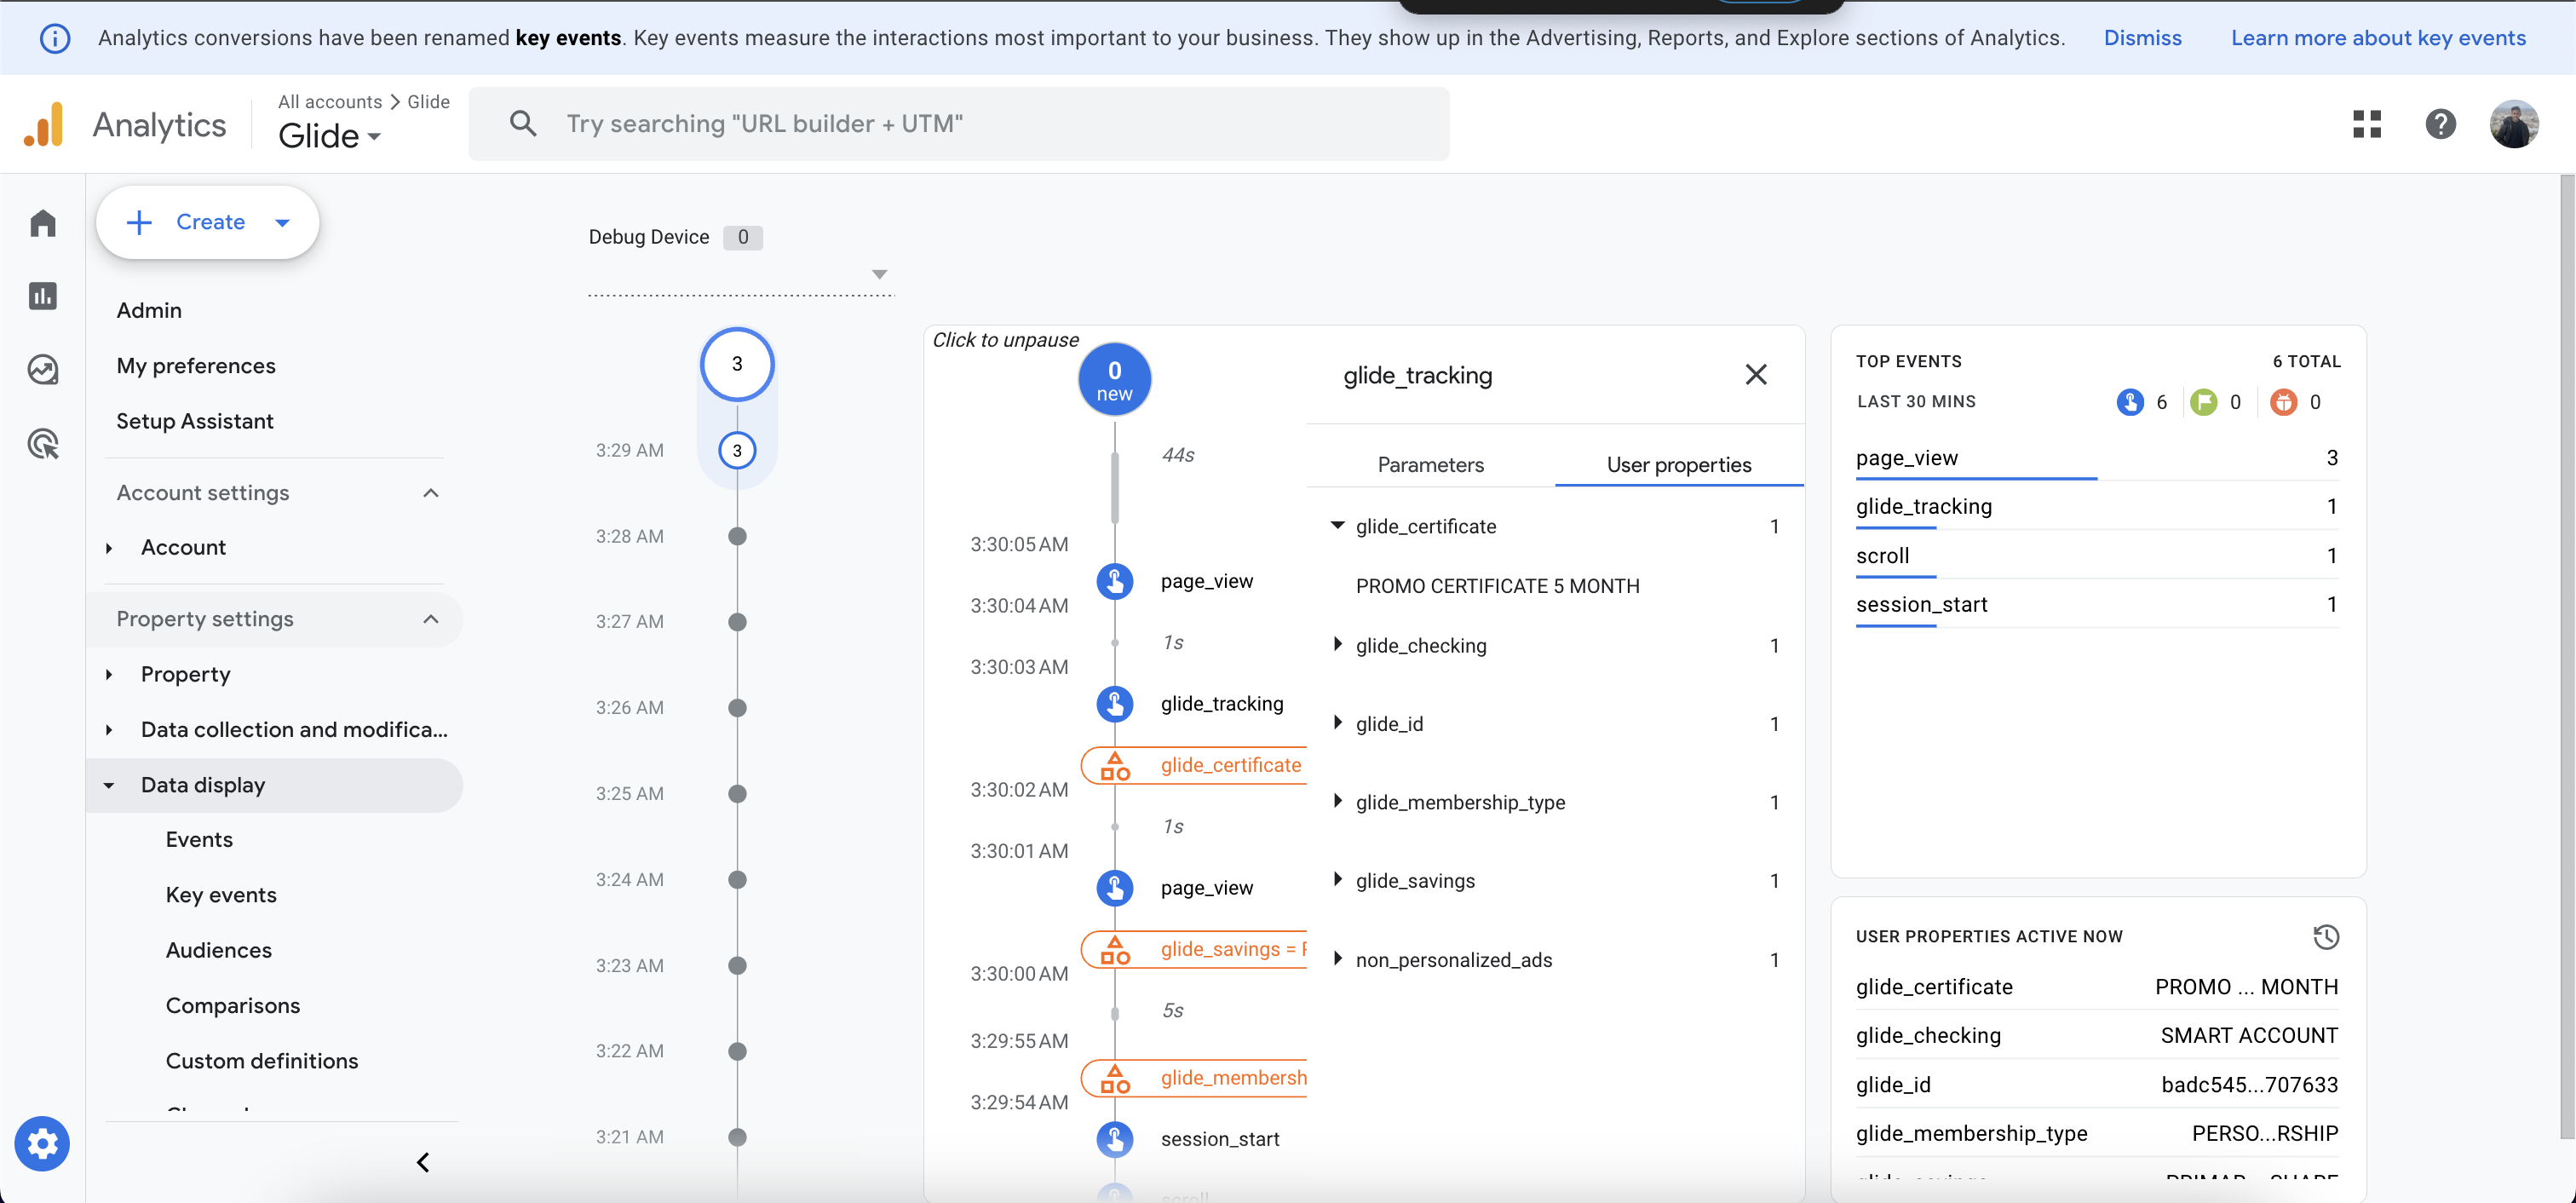
8. As you interact with Glide account opening flow, you should see data appearing in Debug View
9. Verify if user properties such as glide_savings is populating correctly as you select Saving Products in Glide’s account opening flow
How do I find my Measurement ID
A measurement ID in Google Analytics is a unique identifier for a web data stream (which is a website registered within Google Analytics). The format of a measurement ID in Google Analytics 4 is 'G-' followed by a combination of numbers and letters, such as 'G-PSW1MY7HB4.'
The measurement ID acts as a critical link, connecting your website to the corresponding data stream in Google Analytics 4. It ensures that the data from your site is sent to the right location.
In Google Analytics 4, the measurement ID is the same ID as the destination ID.
View the following support guide to find your measurement ID:
https://support.google.com/analytics/answer/12270356
Glide Personal Membership Page Paths
Description | Path | Notes |
Starter screen | / | |
Membership selection | /account | This screen is hidden if only one membership type is available. |
Savings account selection | /account/savings | |
Checking account selection | /account/checking | |
Email input | /personal/email | |
Country of citizenship & Plaid IDV | /personal/country | This screen is hidden if international members are not accepted. |
Employment status | /employment | |
Employment information | /employment/info | |
Eligibility selection | /eligibility | |
Eligibility information | /eligibility/info | May not appear in all flows |
Eligibility doc upload | /verification/eligibility | May not appear in all flows |
Agreements | /review/disclosures | |
Review screen | /review/application | |
Pending screen | /review/pending | Pending applications will be directed to the pending screen |
Account approved | /review/success | Auto Approved applications will be directed to the onboarding page |
Account denied | /review/denied | Auto denied applications will be directed to this screen |
Onboarding page | /review/accounts |